Someone asked this over e-mail
Is it possible to do dome projection with Unreal Engine and LightAct?
Thanks!
Someone asked this over e-mail
Is it possible to do dome projection with Unreal Engine and LightAct?
Thanks!
Hi,
Yes it is. We need to create a proper tutorial for that, but for now the tips below will have to do:
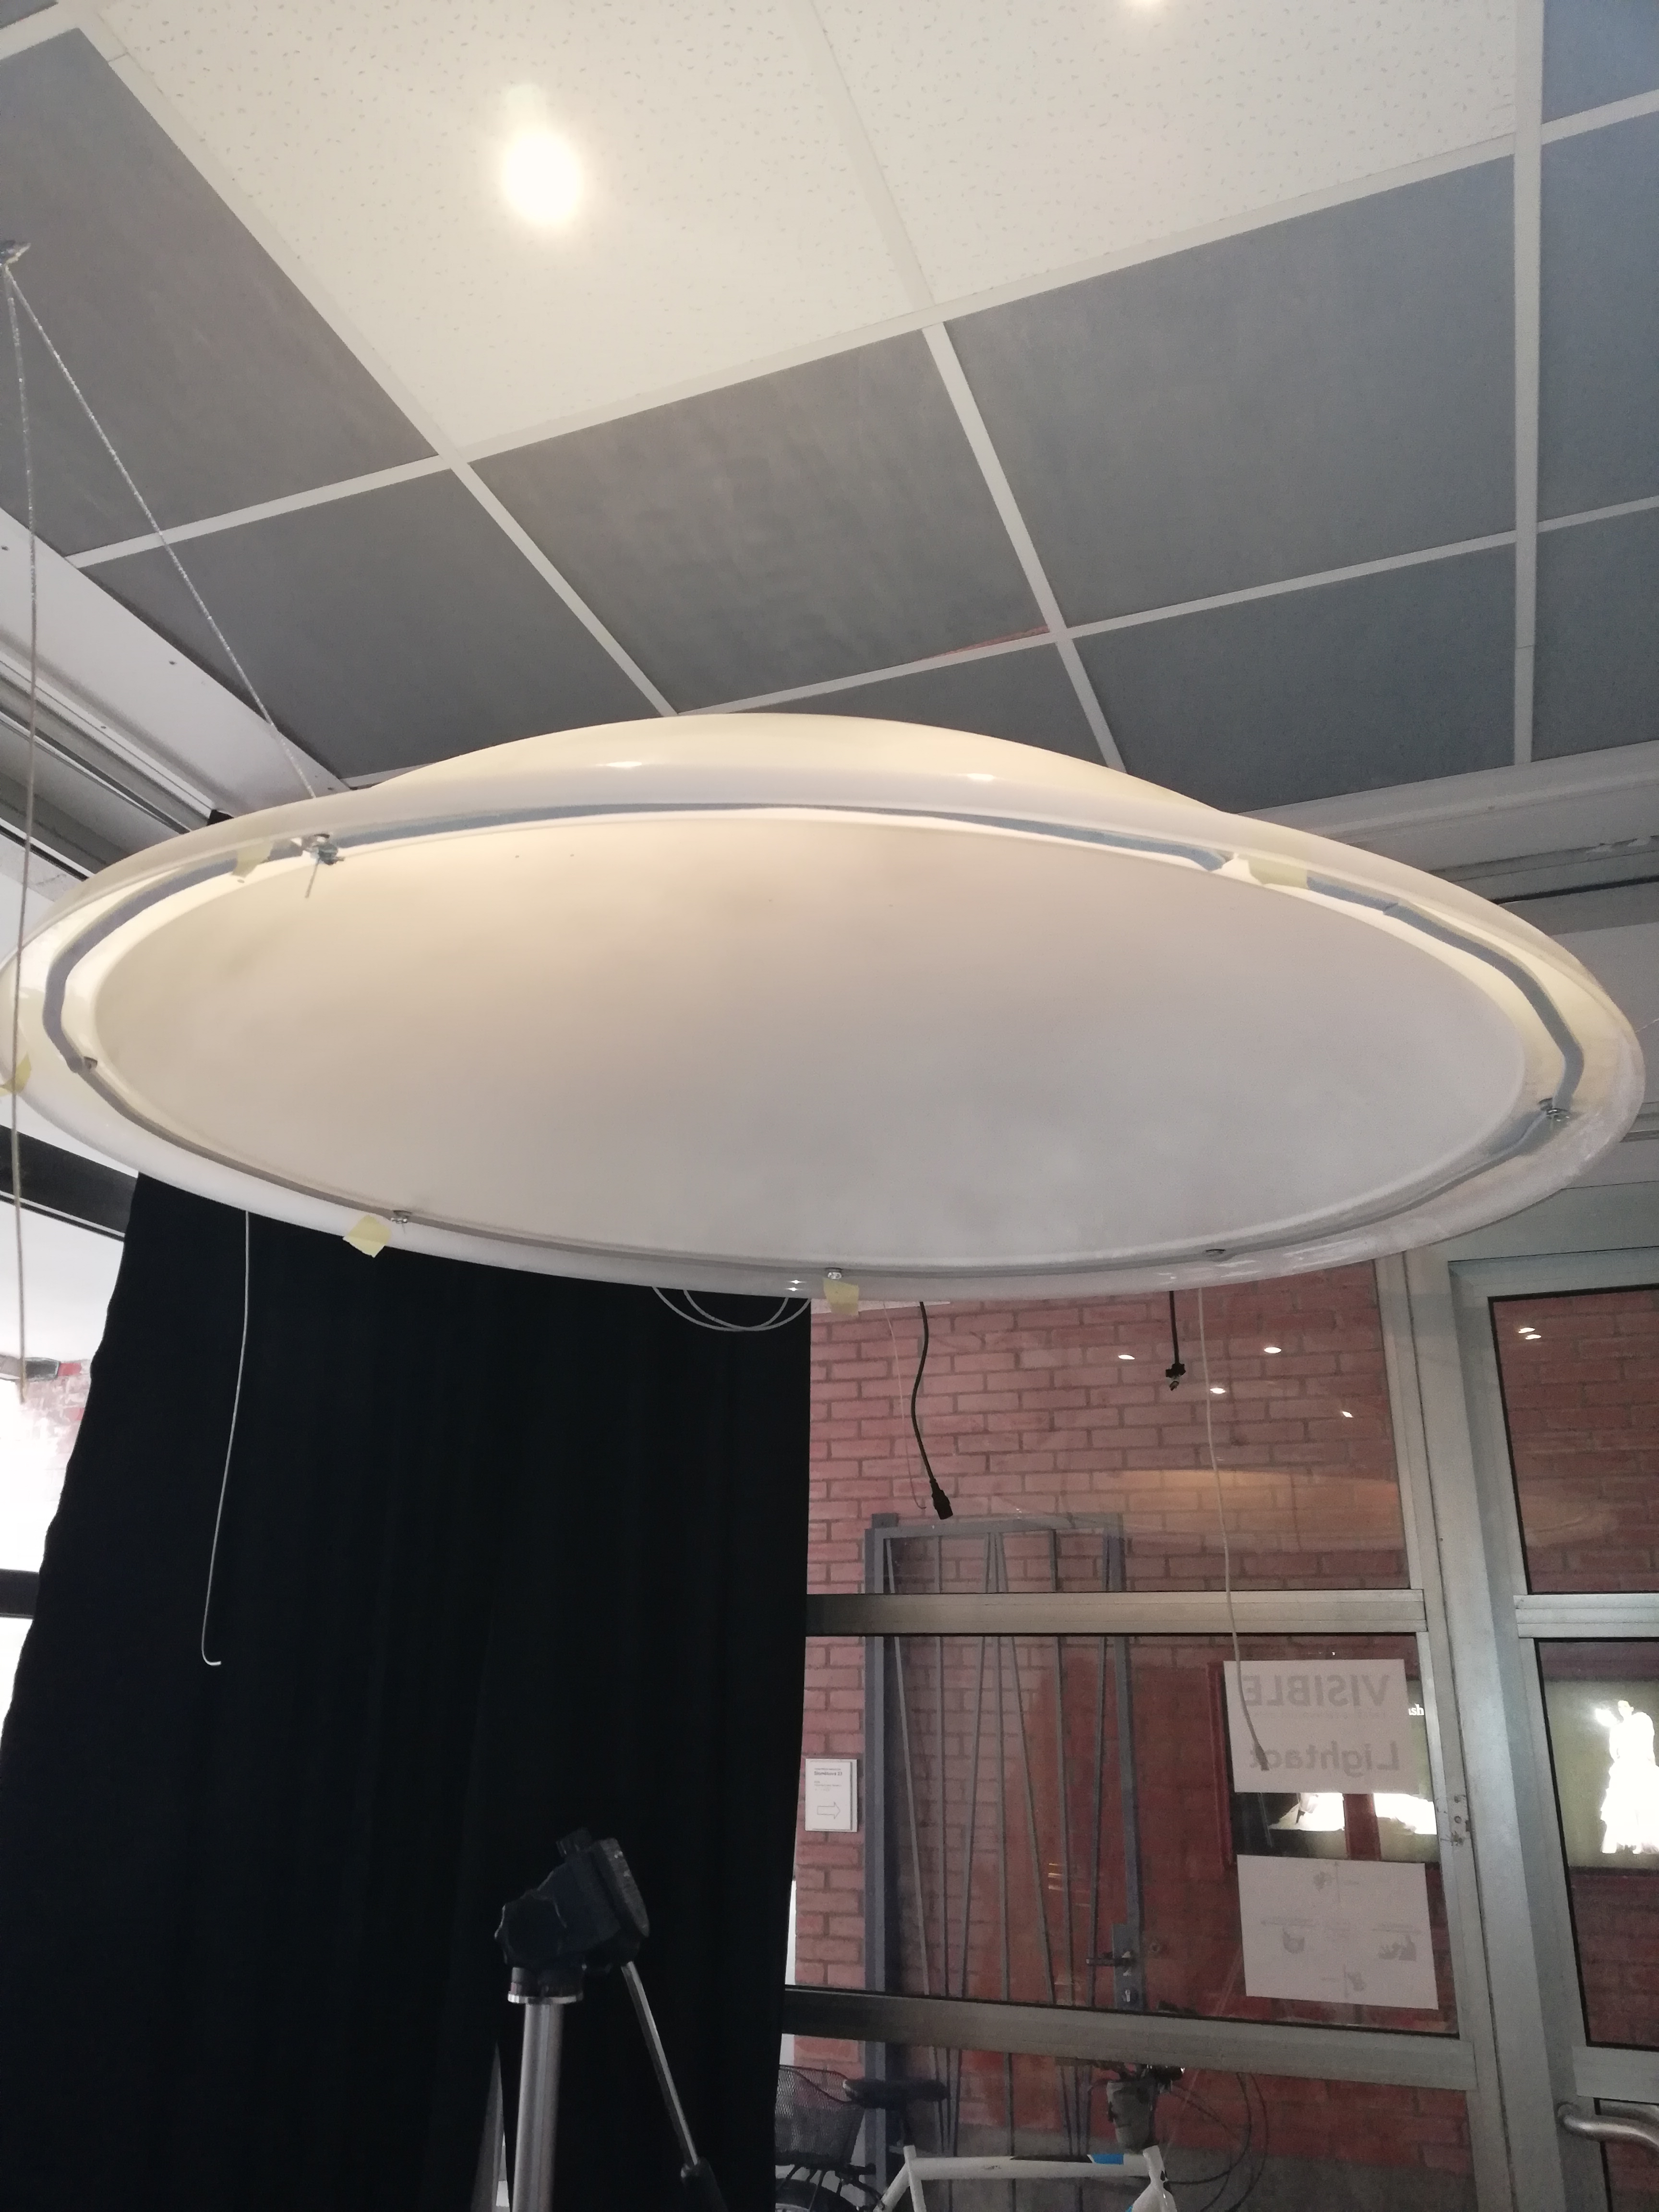
First, you need a precise 3D model of your dome. It needs to be properly UV mapped with non-overlapping UVs. See below what we created for our testing setup:
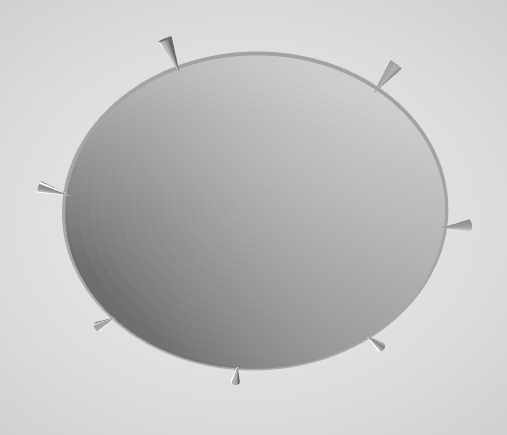
3D model
As you can see, the real dome has some holes at the bottom edge. We created corresponding little cones in the 3D model for each hole. This helped us click at the right spot in the 3D model.
You need to import this 3D model into LightAct and place it in the scene.
The second step is to calibrate your Iris camera. For best calibration results, the selected points should be non-planar. This means you should select at least one point that is not on the edge of the dome. The center of the dome is the obvious candidate. Besides reprojection error, you can also check if calibration was correct by judging how ‘correct’ the location of the camera and its FOV is after calibration. FYI: for fisheye lens that we provide with Iris cameras, the standard FOV is around 60°.
Place your projectors and calibrate them.

In Iris window, make sure Regenerate points is enabled, because this will make sure that the calibration points for the projector will be found automatically by the software.
The content flow is this:
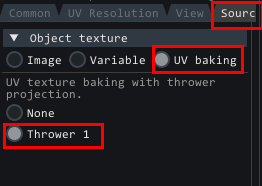
Now, the only thing that needs to match is that the FOV of your thrower needs to match the FOV of your Unreal camera.
Again, we will post a proper tutorial in the following weeks. ![]()
![]()
Cheers,
M
And a ‘proper tutorial’ is now available: