Amongst other improvements, LightAct 4.5.0 brings huge timeline syncing upgrades, a faster mapping workflow, easier variable control, and a better search menu.
Timeline
-
Markers now have tooltips upon hover, that display their full name.

-
Every newly created Timeline is populated with a Section.

-
The Timeline Properties have a separate Syncing collapsible, designated for managing synchronization-related properties. Here, you have the option to synchronize the entire Timeline with an incoming timecode or select specific Sections for synchronization.
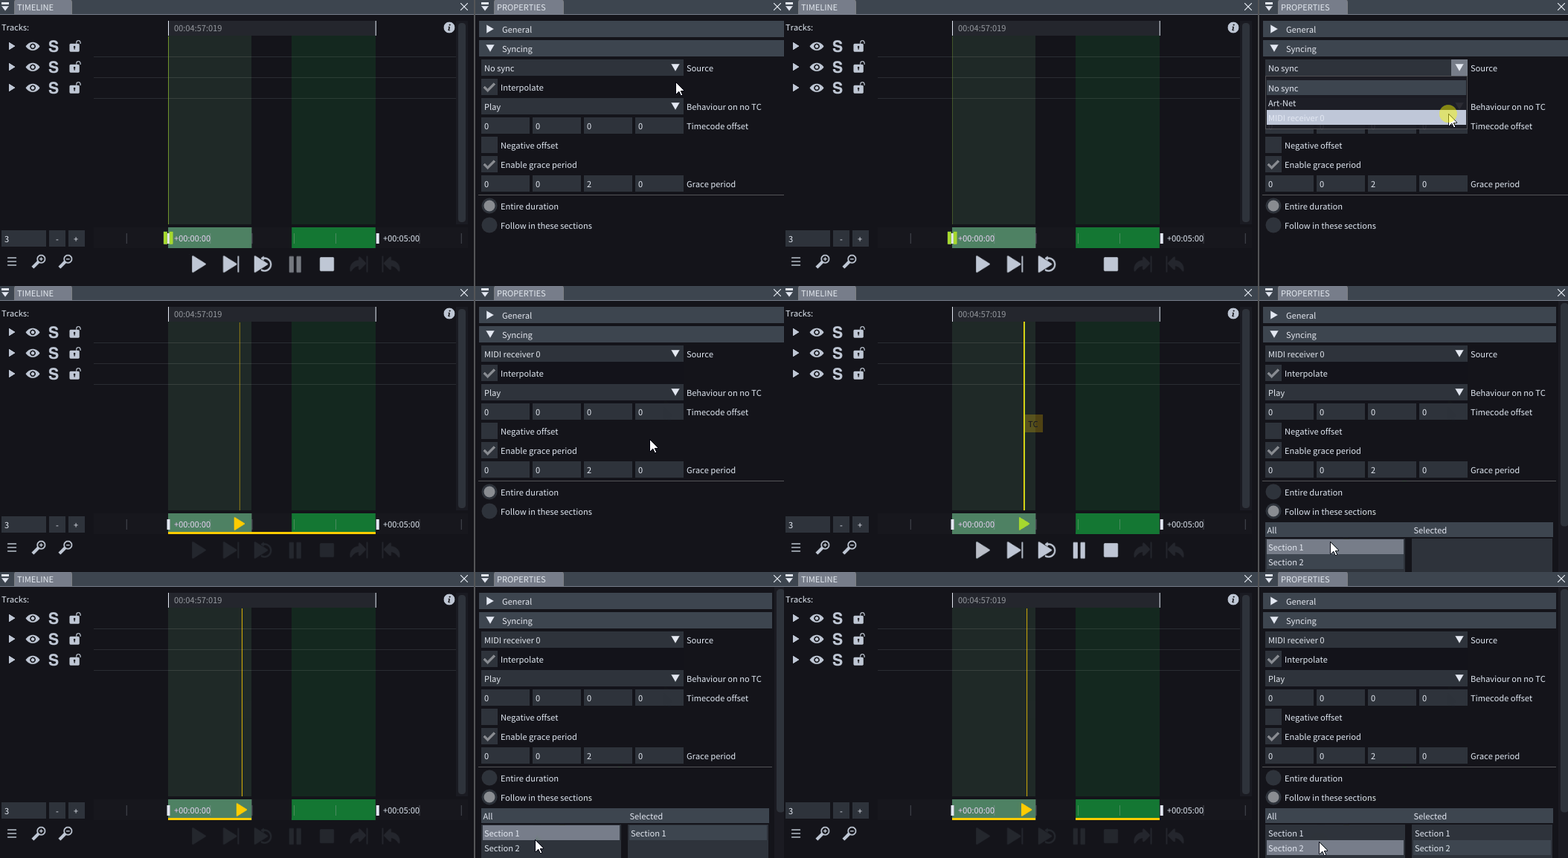
If syncing is enabled, and the playhead follows an incoming timecode, the playhead turns yellow. A yellow line also highlights the syncing region.
Nodes & Variables
-
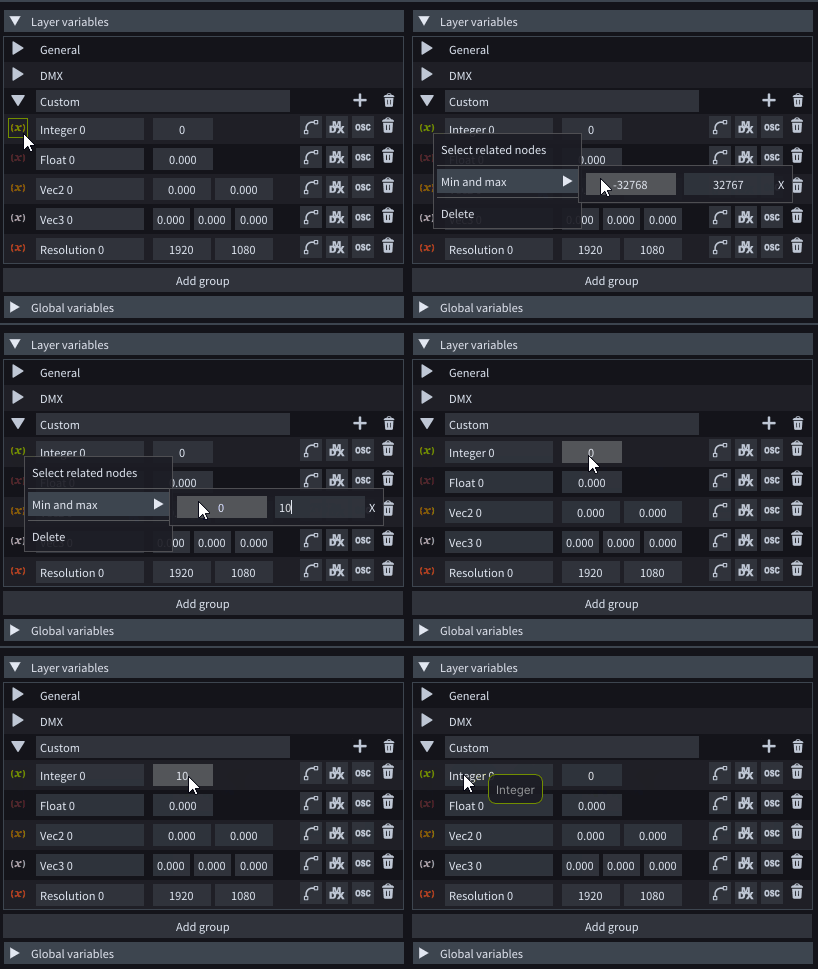
You can set min and max values for your numerical variables, which will be taken into consideration even when you are controlling LightAct through DMX, OSC, or WebUI.
-
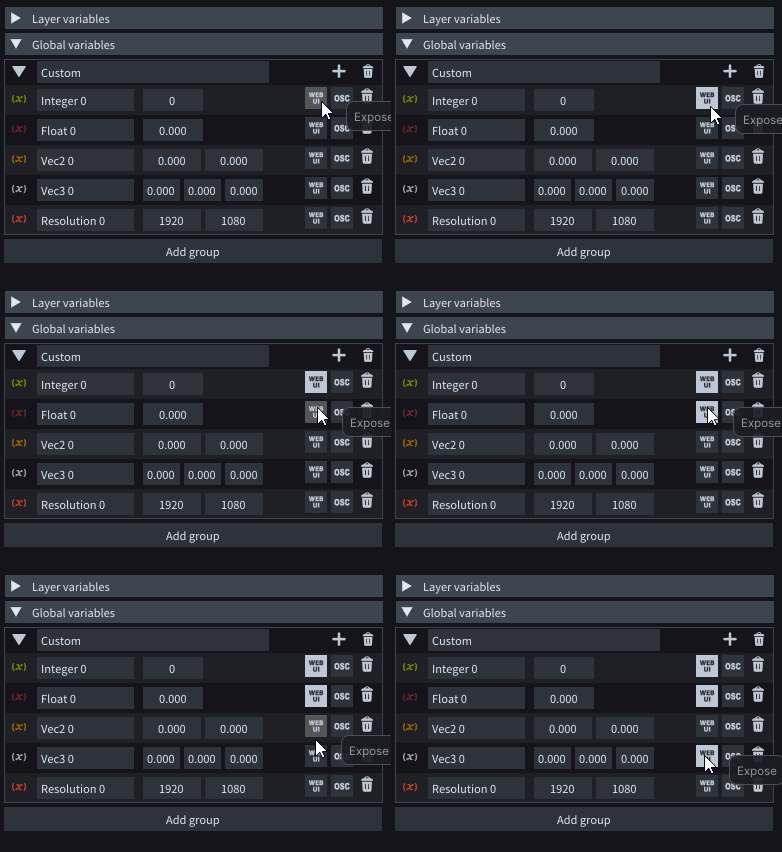
You can choose which global variables will be displayed in the WebUI by enabling the WebUI button for the specific variables.
-
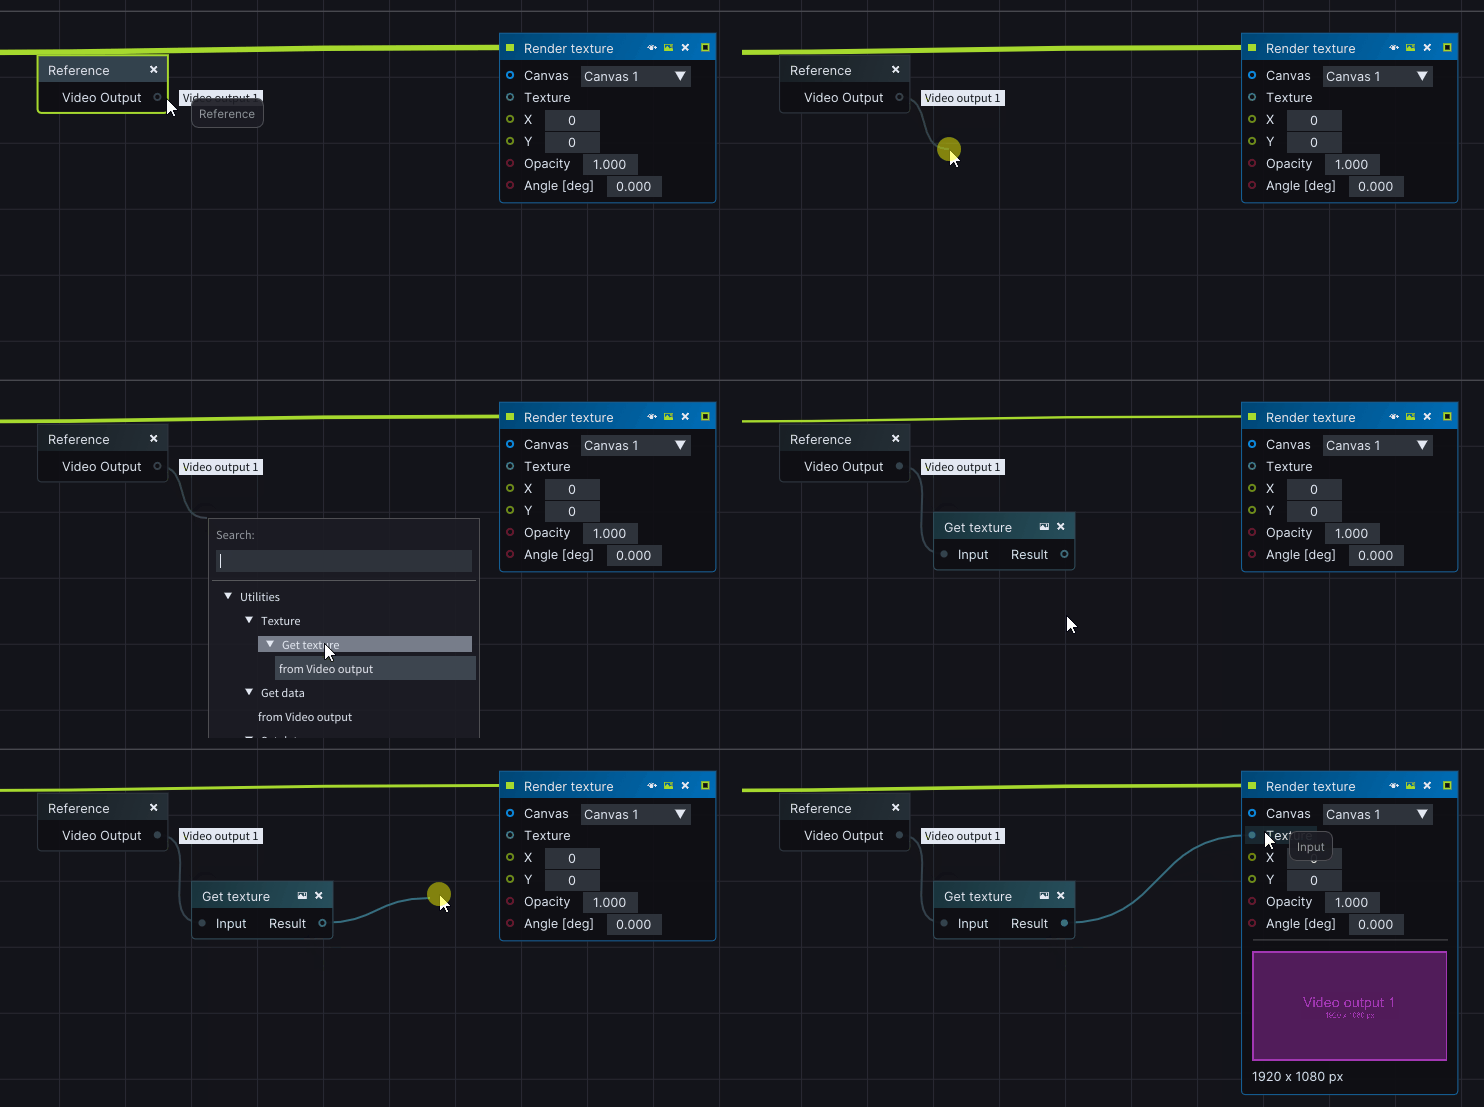
You can receive the texture from a Video Output in the nodes by using the Get Texture node.
-
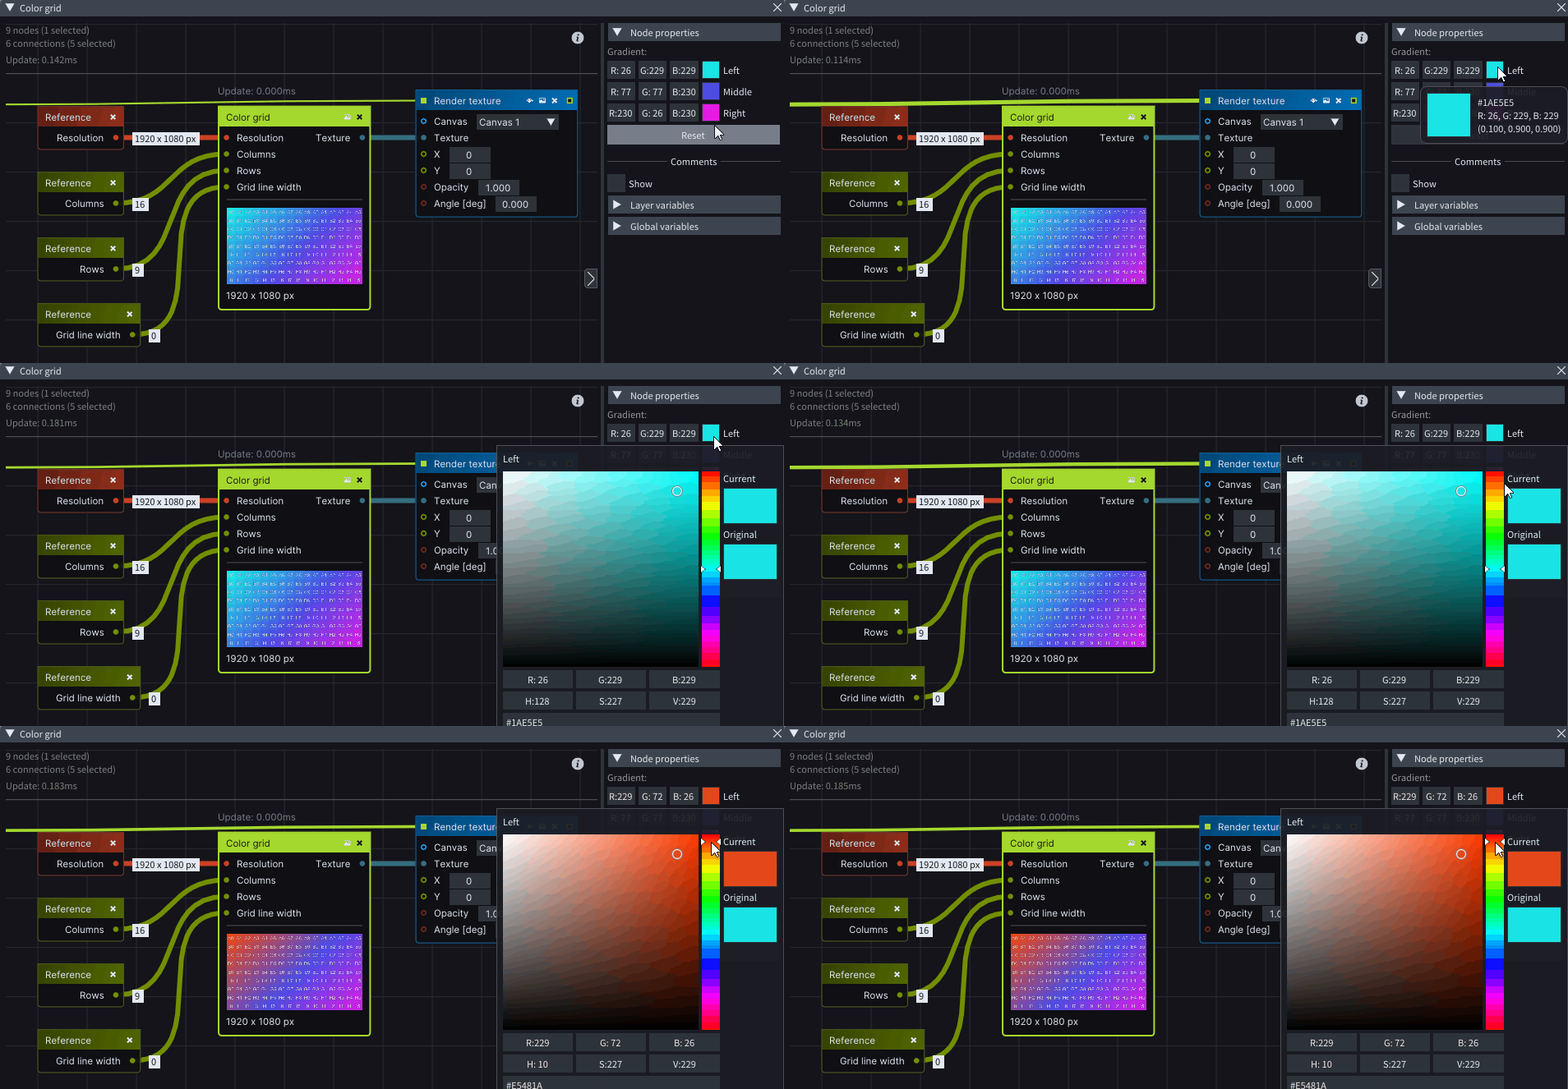
In the node properties of the Color Grid node, you can specify the colors that define the Color Grid texture itself.
-
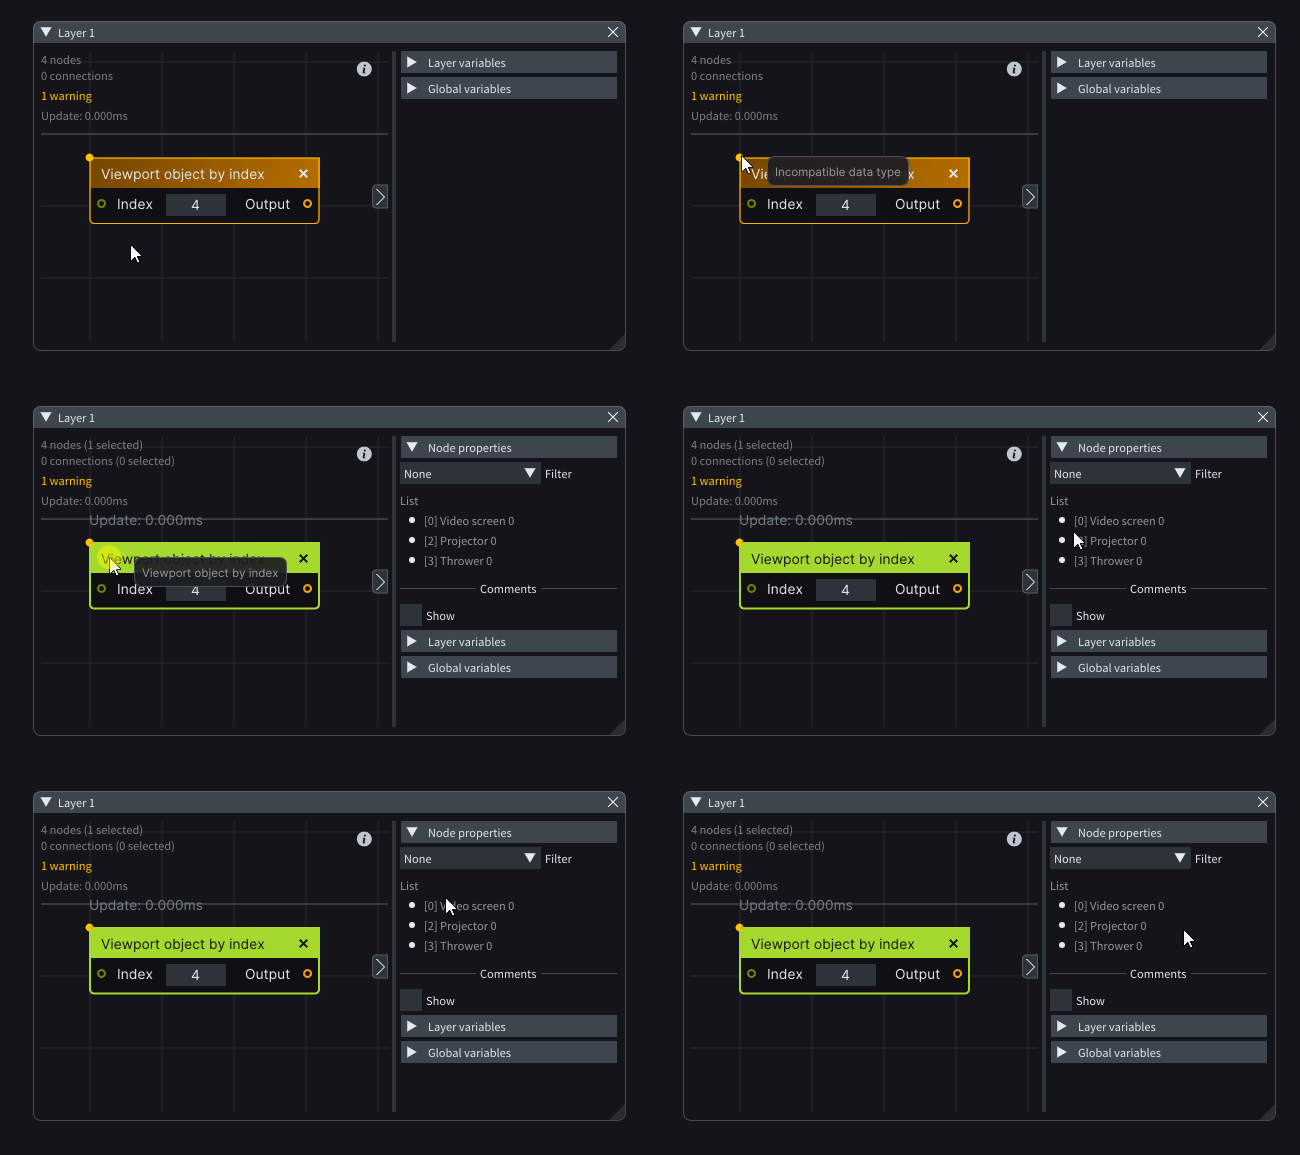
X by index nodes display a warning if the index you have chosen does not match the data type of the node.
-
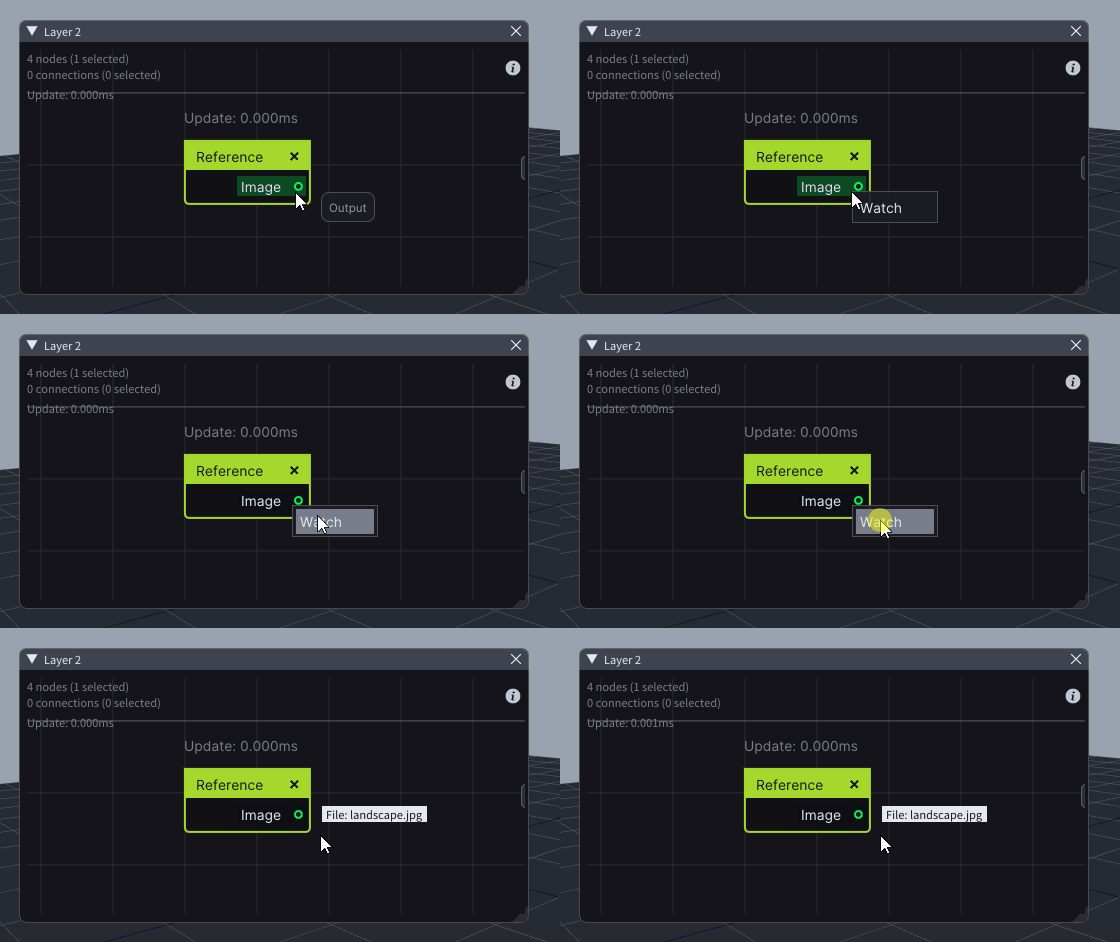
The Watch option of an Asset output pin only displays the name of the Asset, instead of its whole path.
-
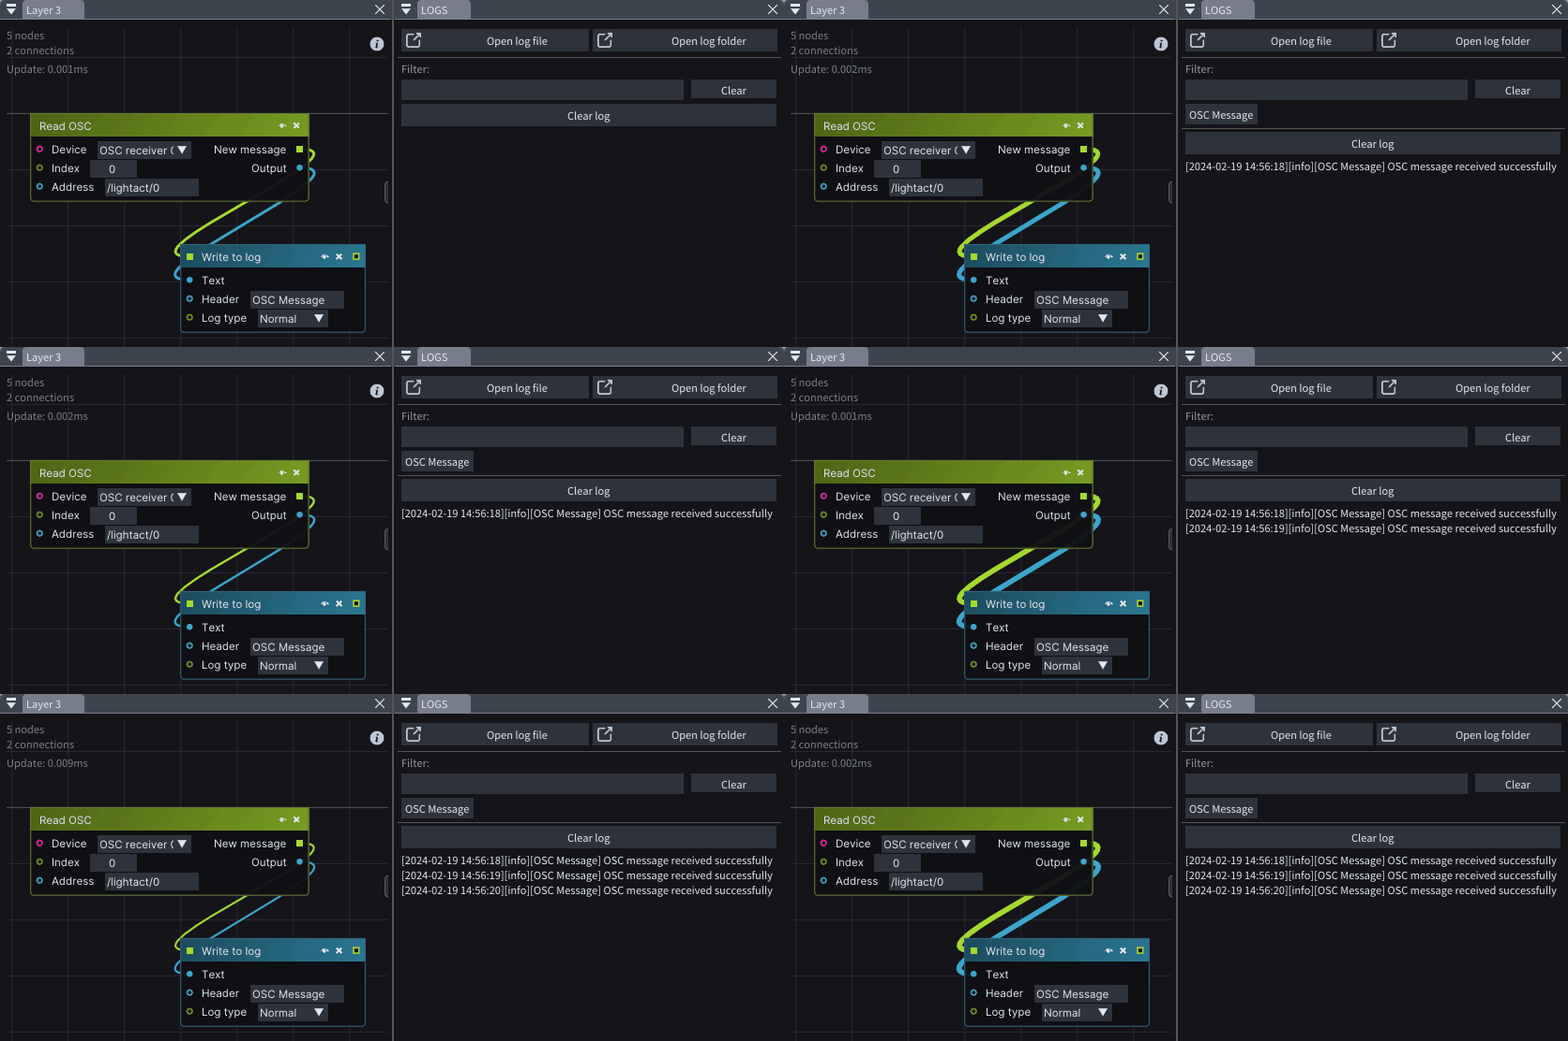
A new Write to log node for writing custom log messages in the Log window.
-
Better search menu in the Layer Layouts.
Video Output
-
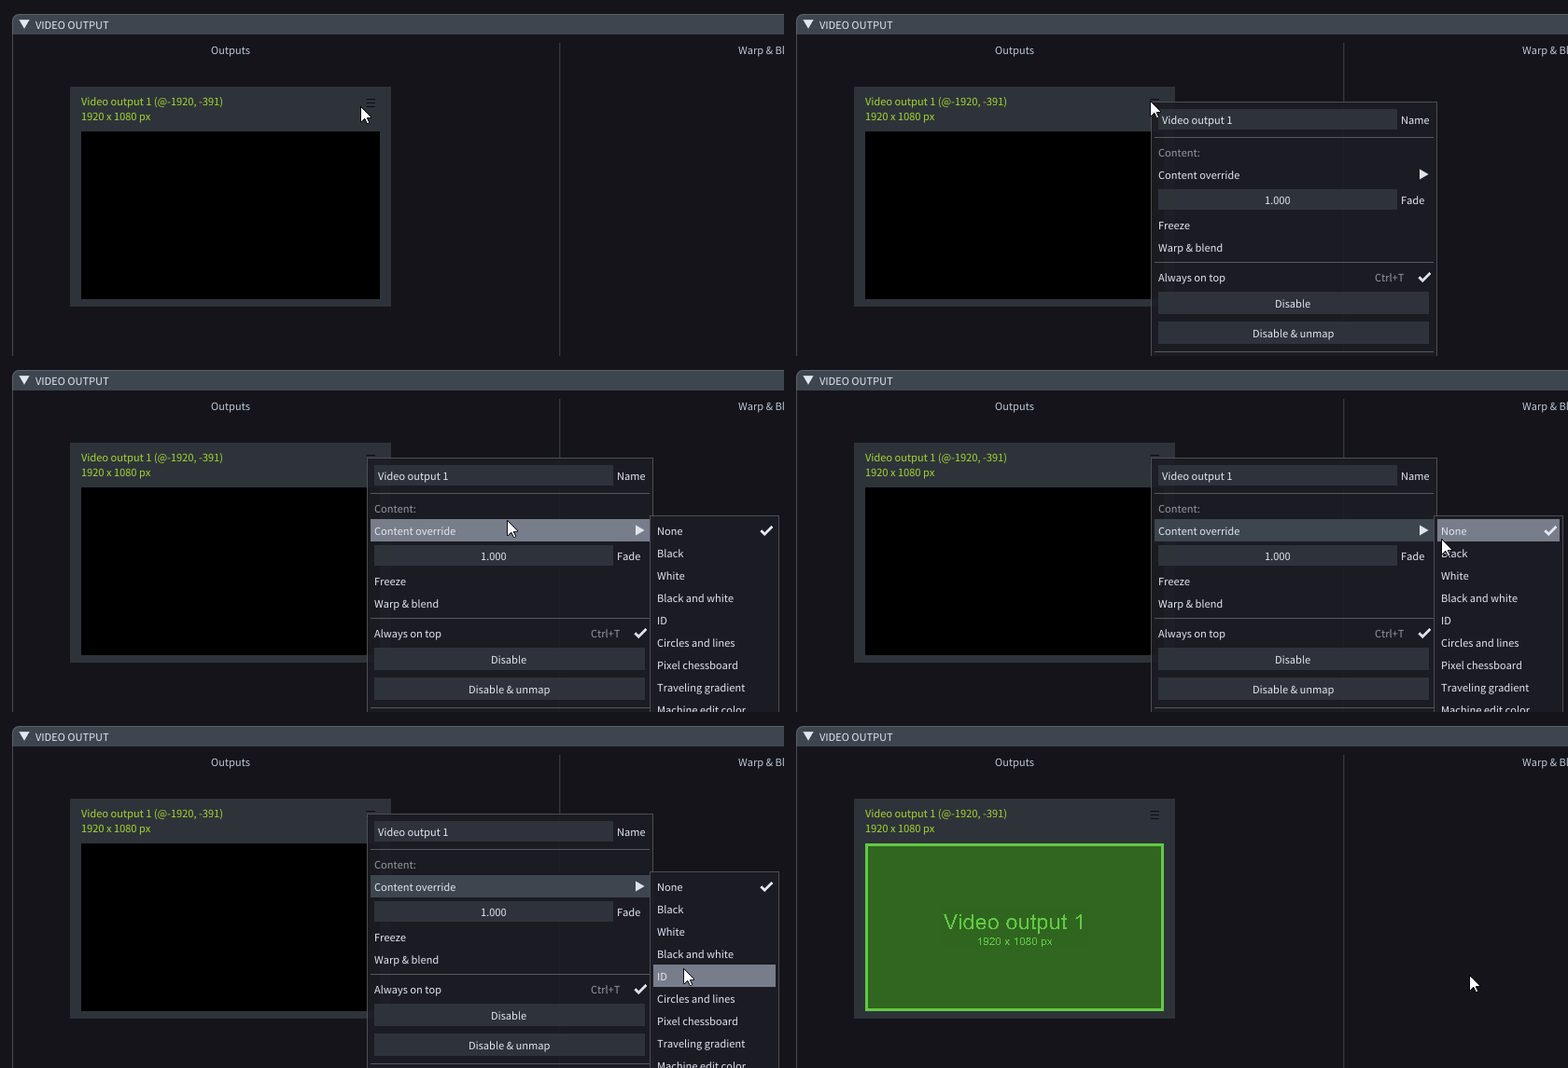
Apply a content override directly to the selected Video Output without any need for additional mapping.
-
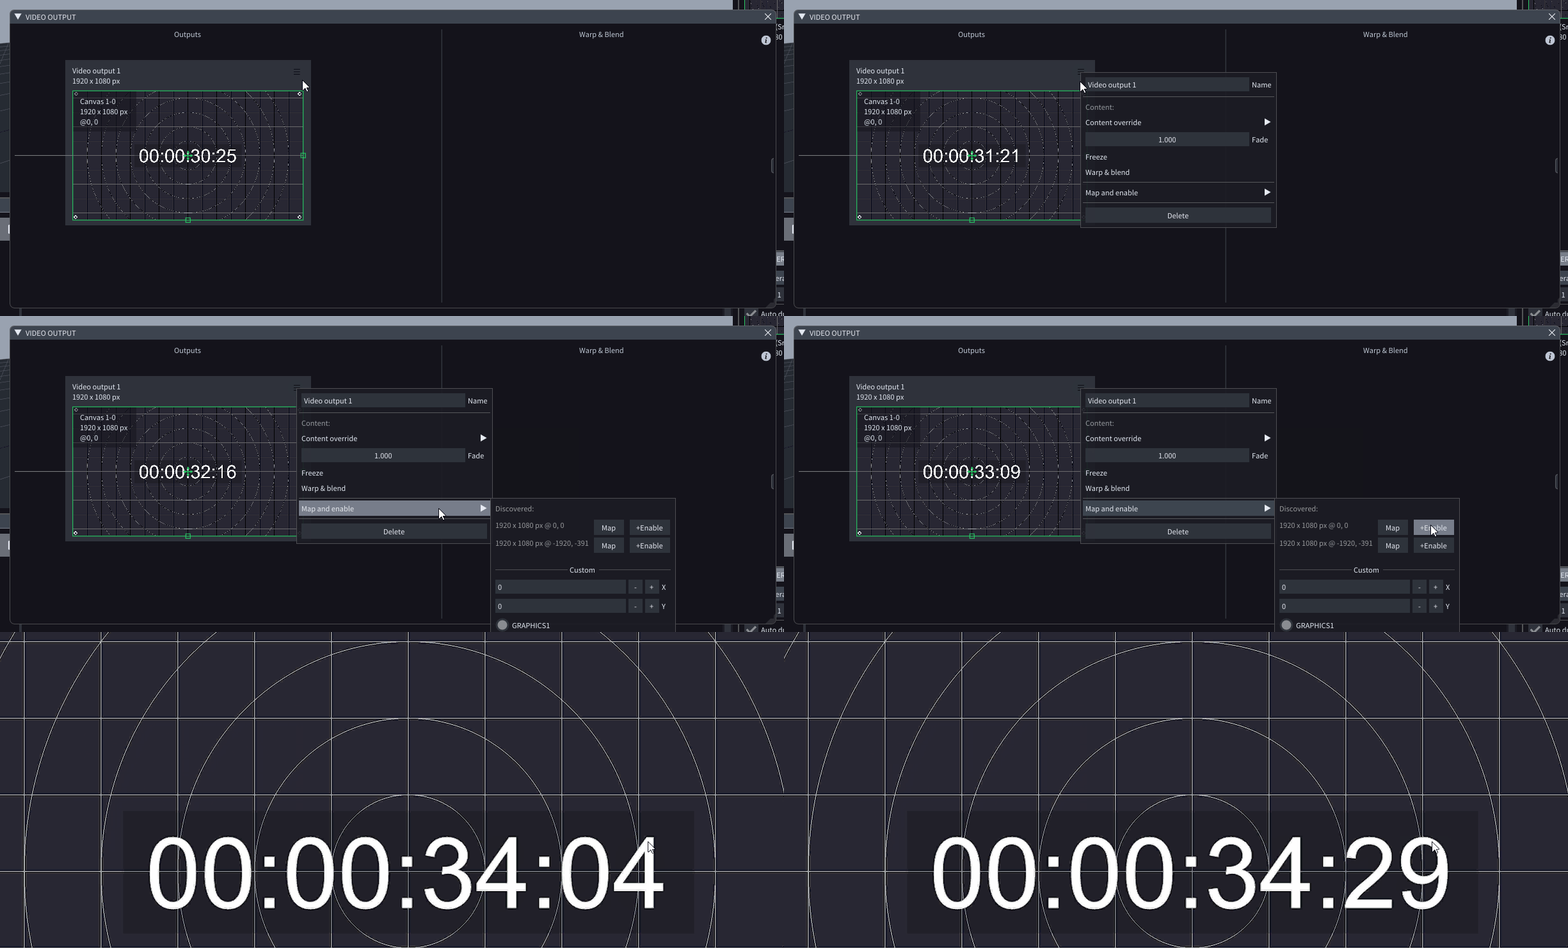
To map & enable a Video Output at the same time, click on the +Enable button of the desired display.
-
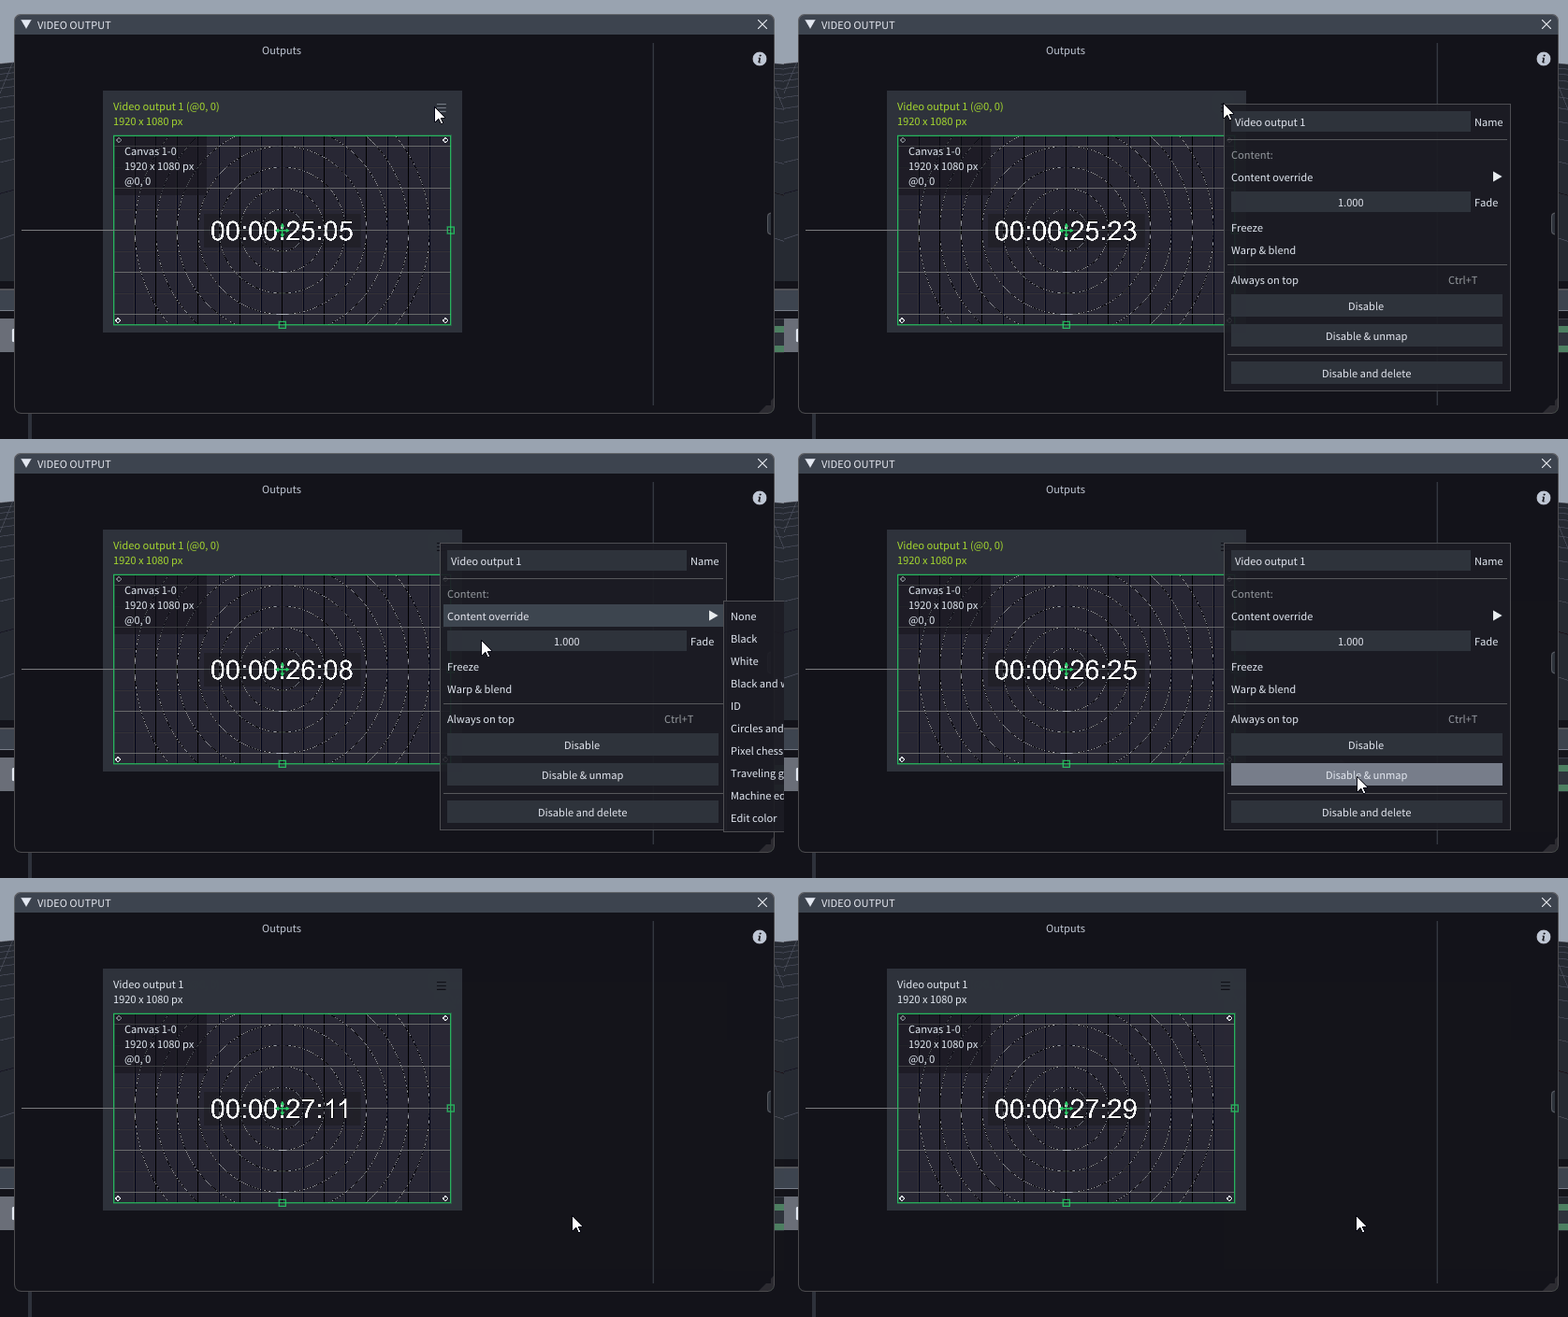
To disable & unmap a Video Output at the same time, simply click the Disable & unmap button of the enabled Video Output.
-
Freeze the content as seen on the Video Output by clicking on the Freeze menu entry.

-
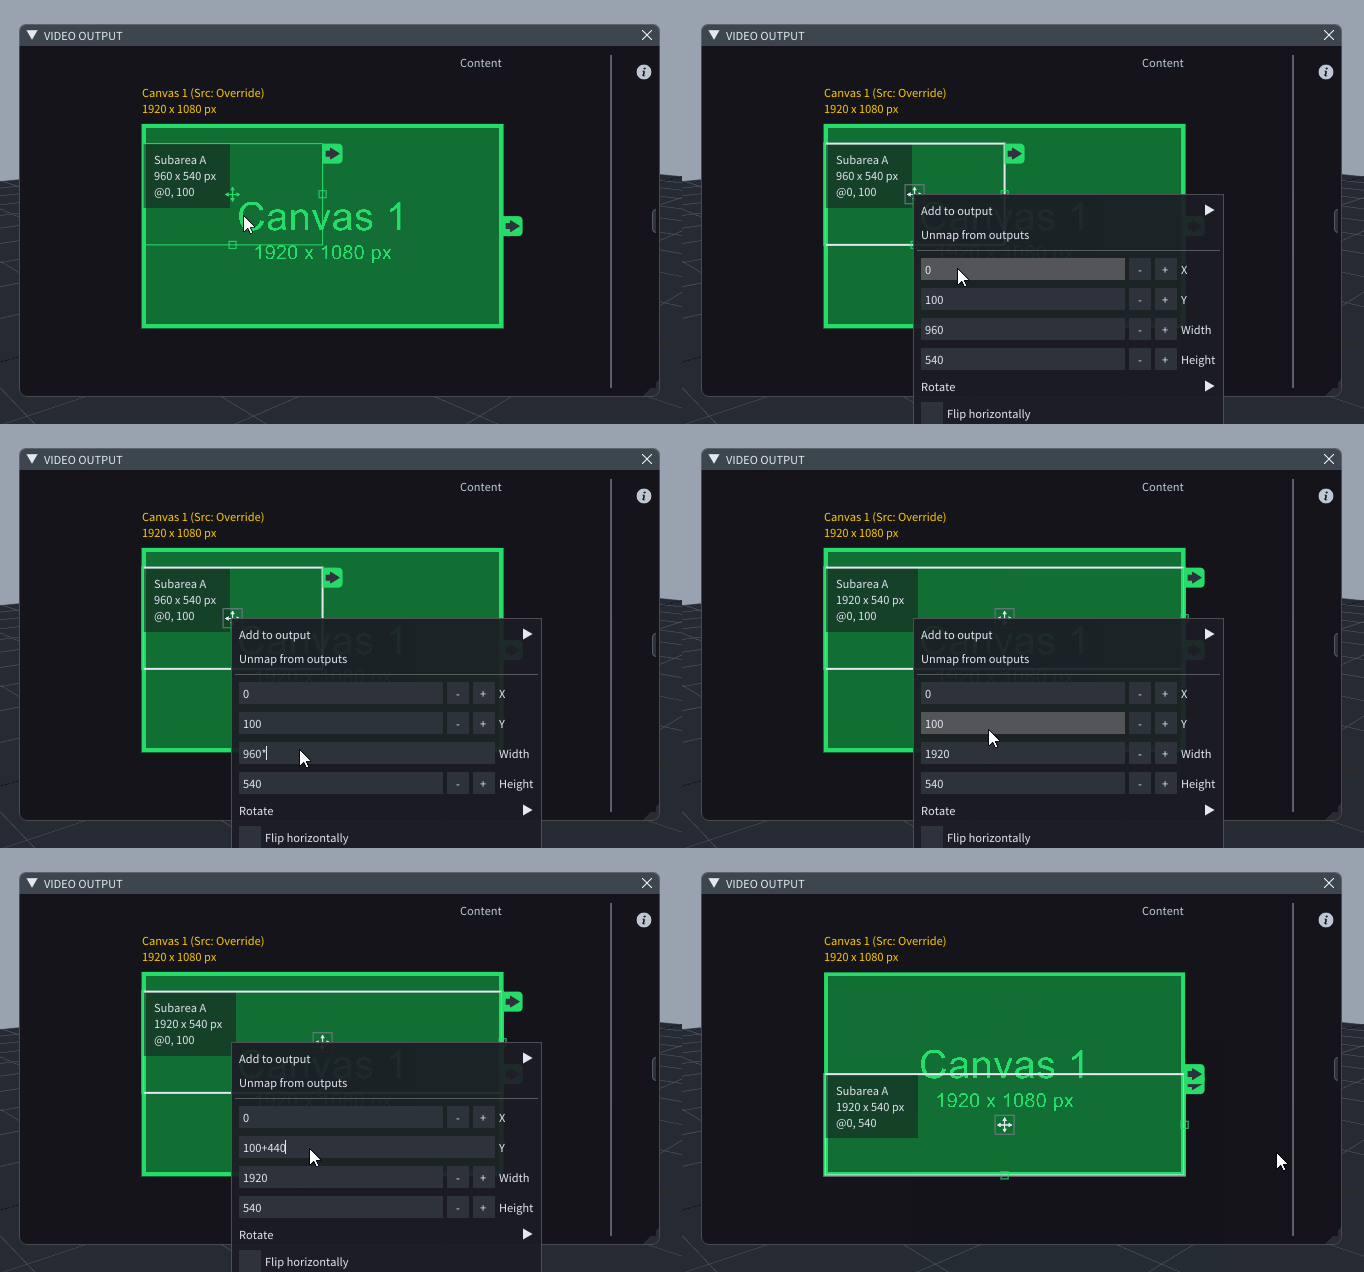
Math expressions can be used in all subarea and Video Output menu entries.
Viewport
-
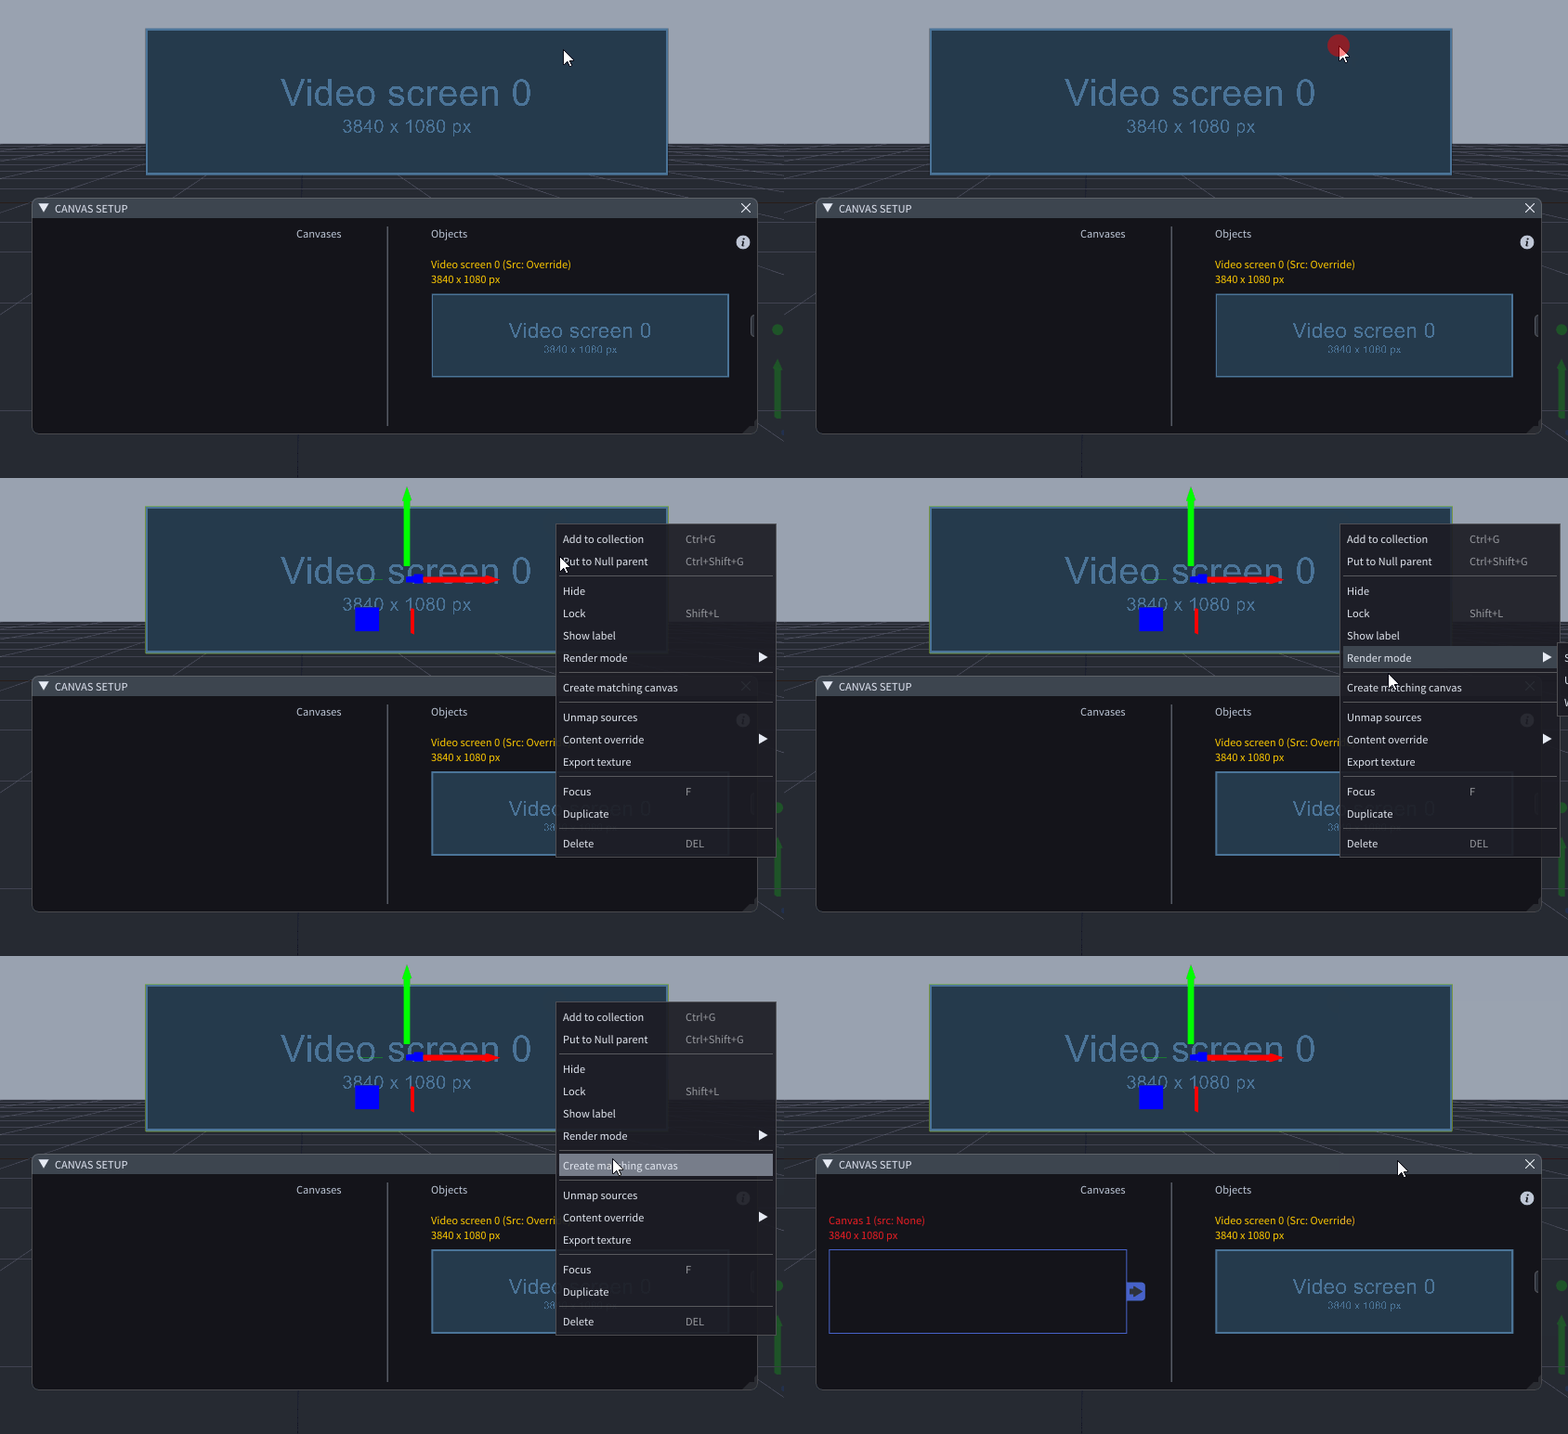
Click Create matching canvas in the *Viewport object’*s right-click menu to generate a Canvas with identical resolution.
-
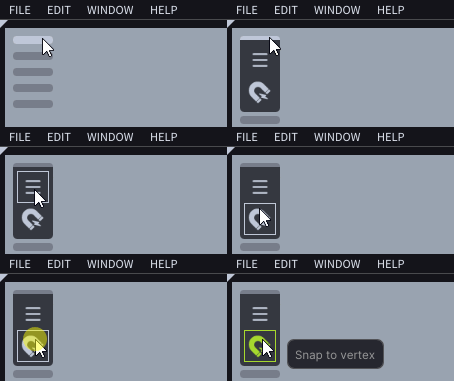
The Snap to vertex feature previously found in the Preferences window is now represented by an icon within the Toolbar.
-
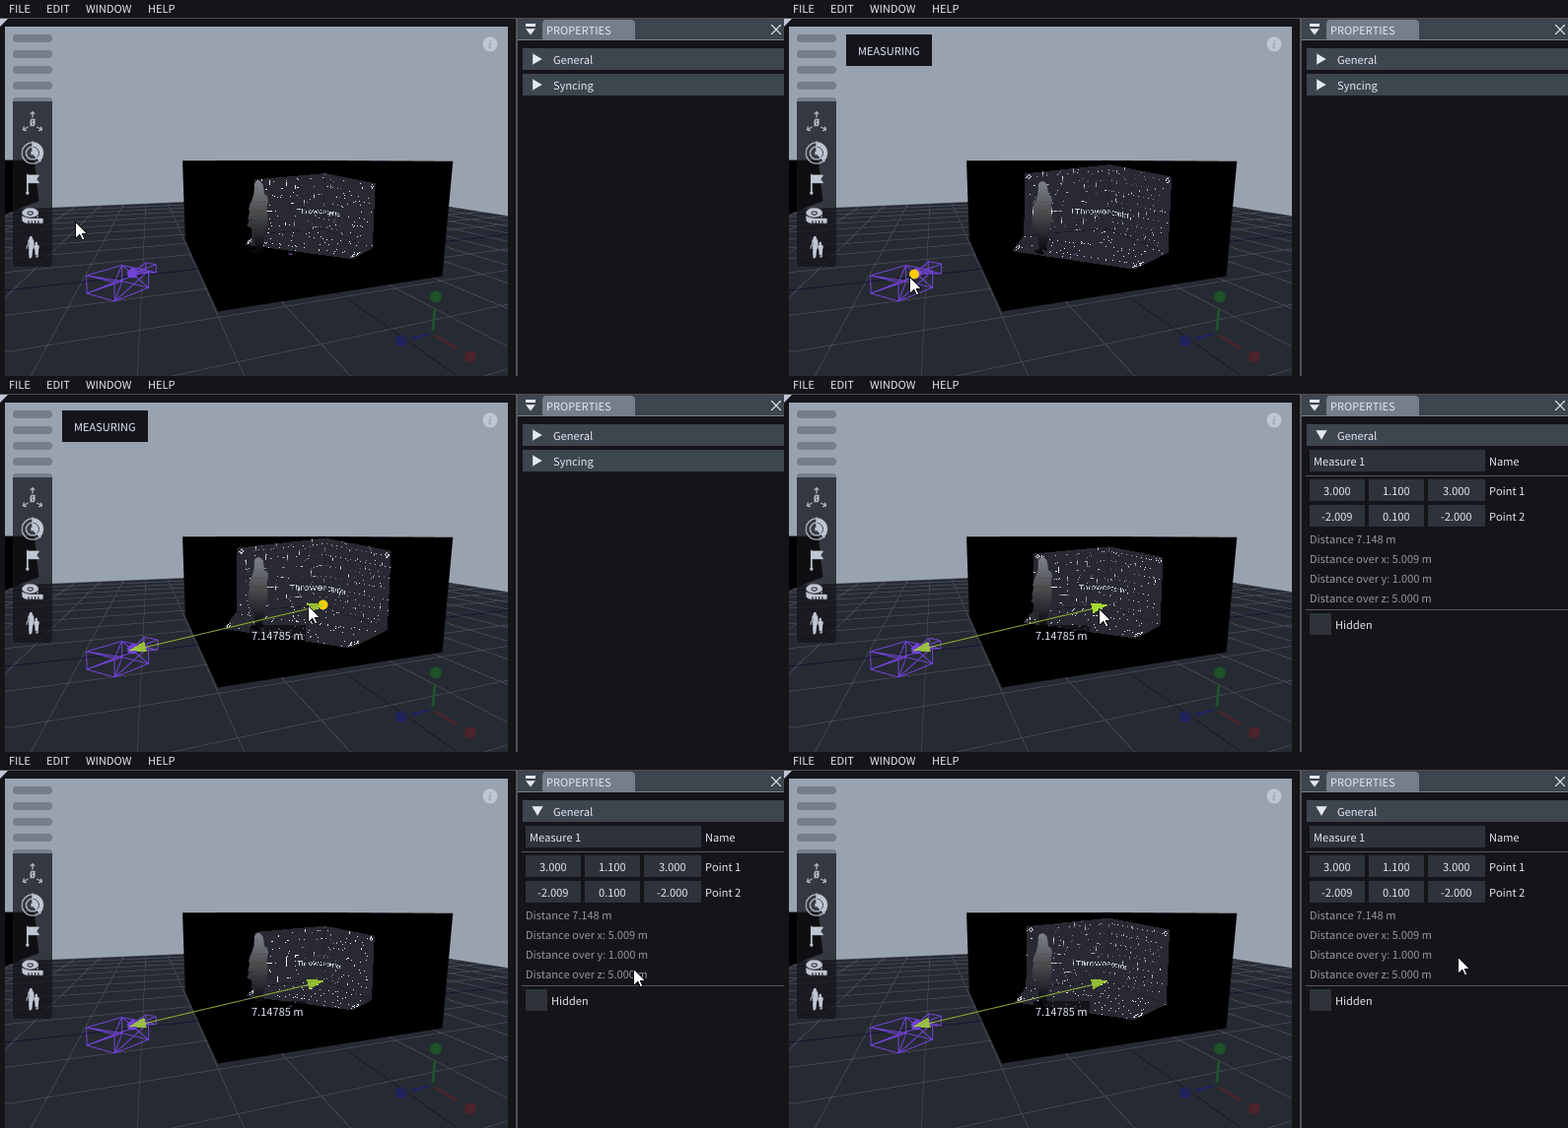
The measure tool offers more data, simplifying measurement assessments.
Devices
-
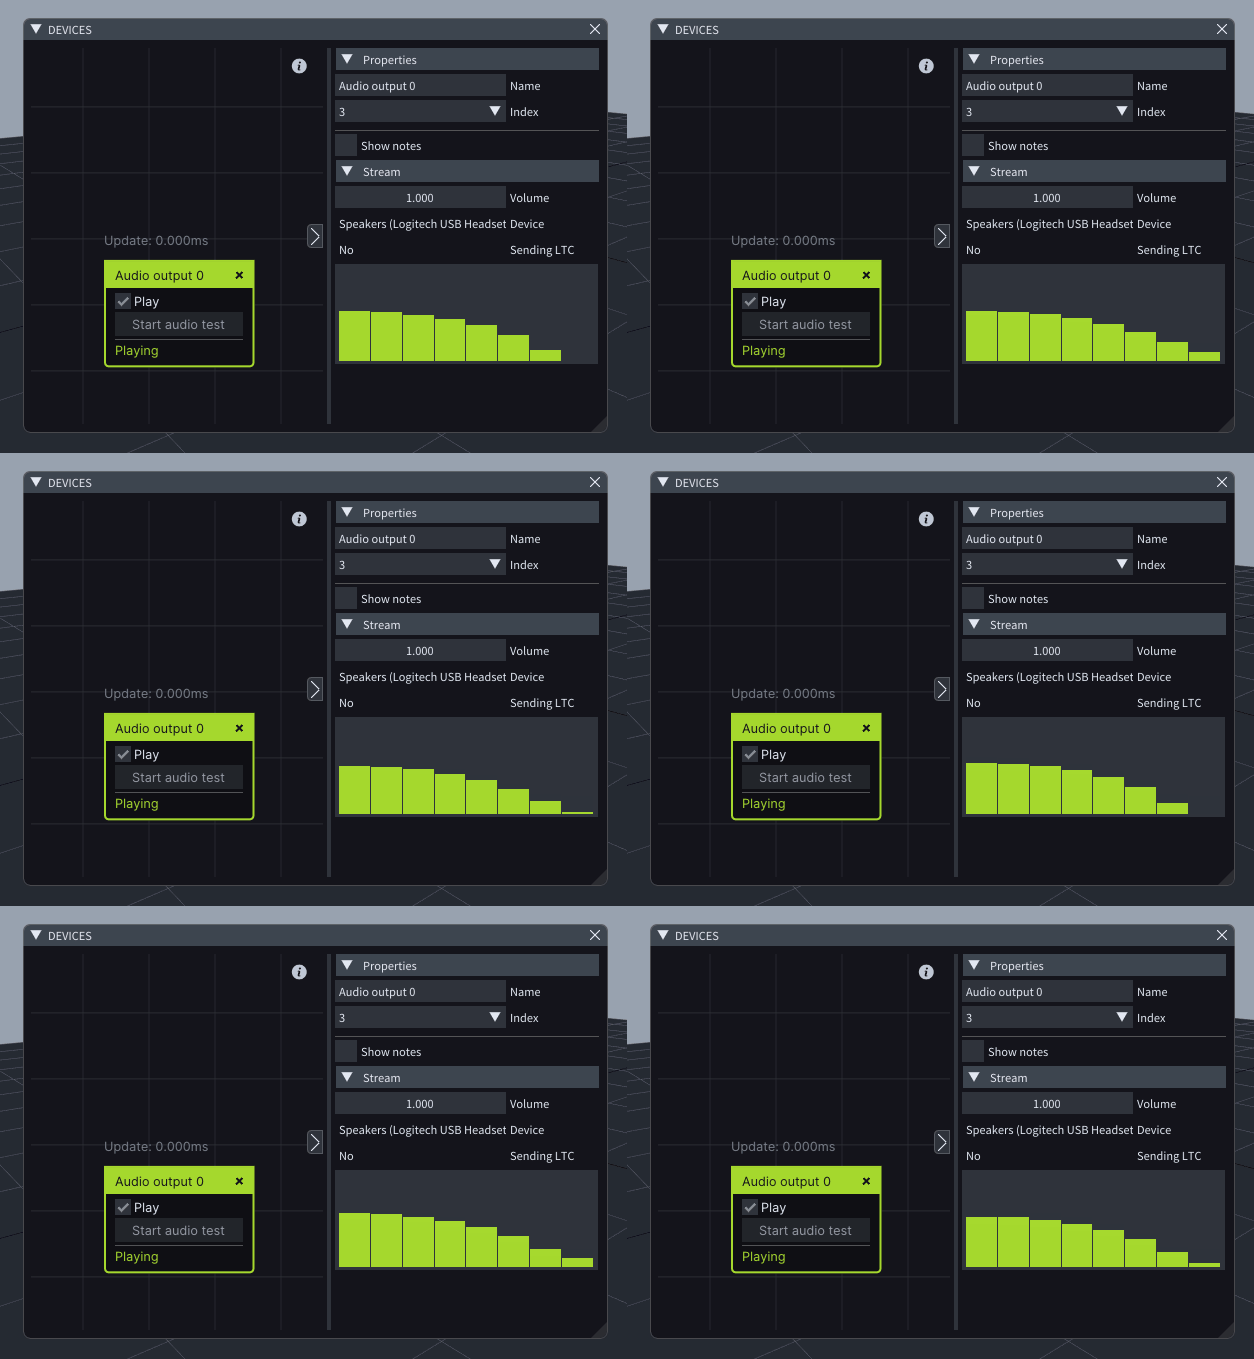
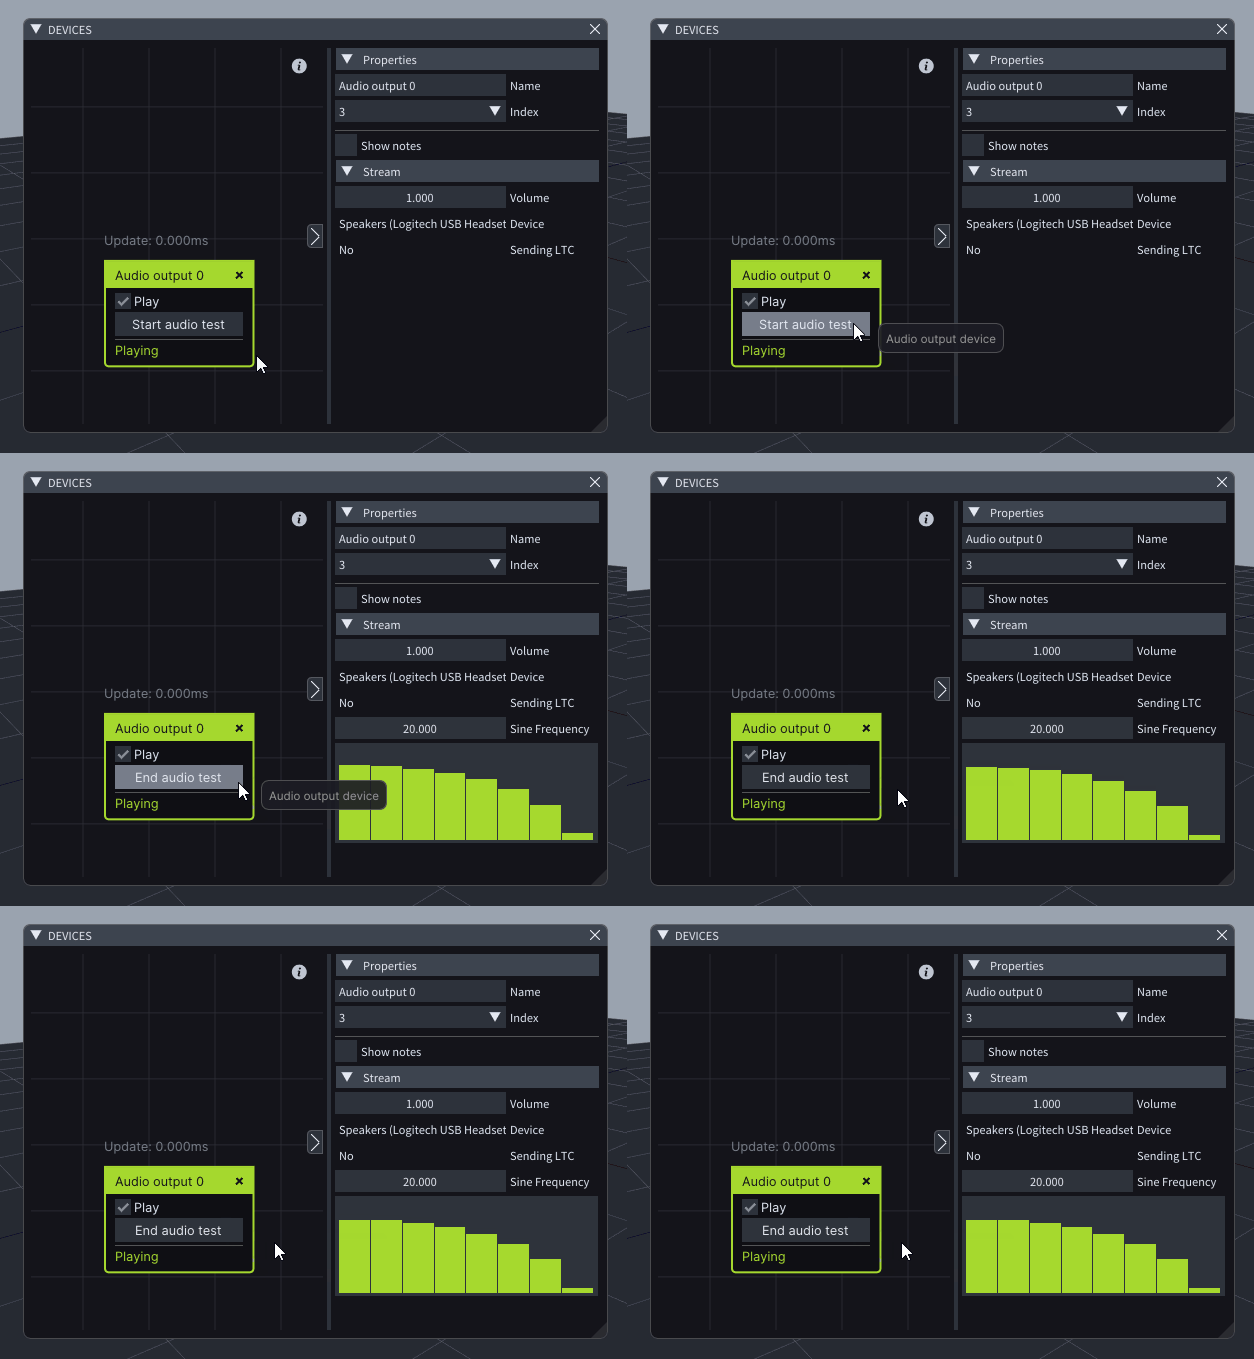
You can visualize the audio levels of an Audio Output in the Device window.
-
You can quickly test your Audio Output device, without needing to import additional audio files by clicking on Start audio test button.
-
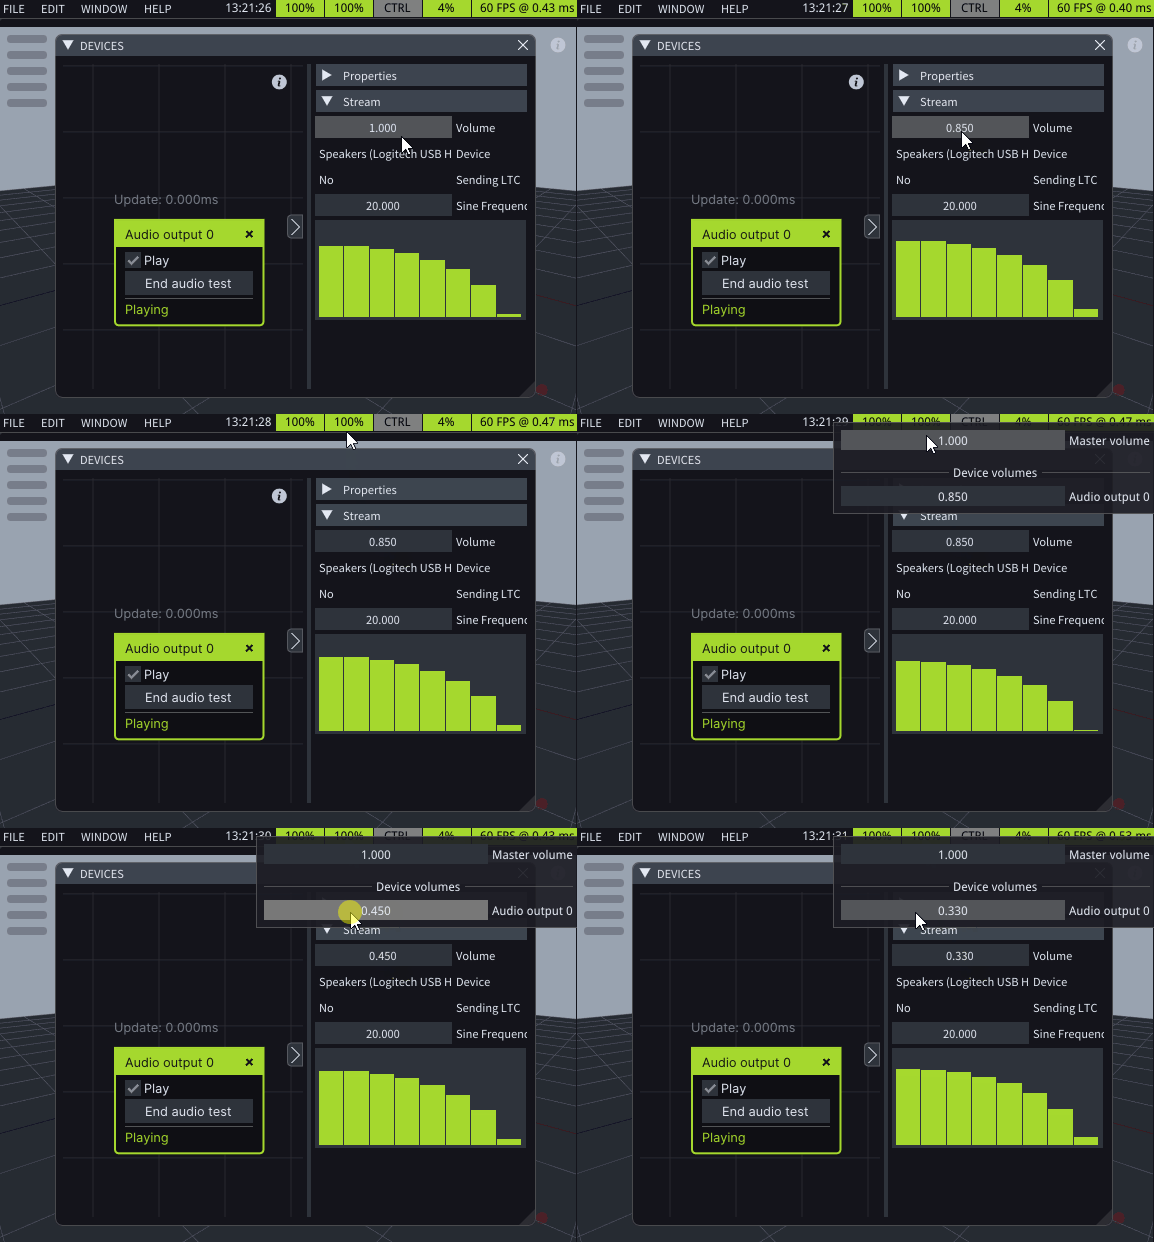
Each Audio Output has its own Volume control, accessible both in the properties of the Device node and within the Master Audio in the Top Bar.
-
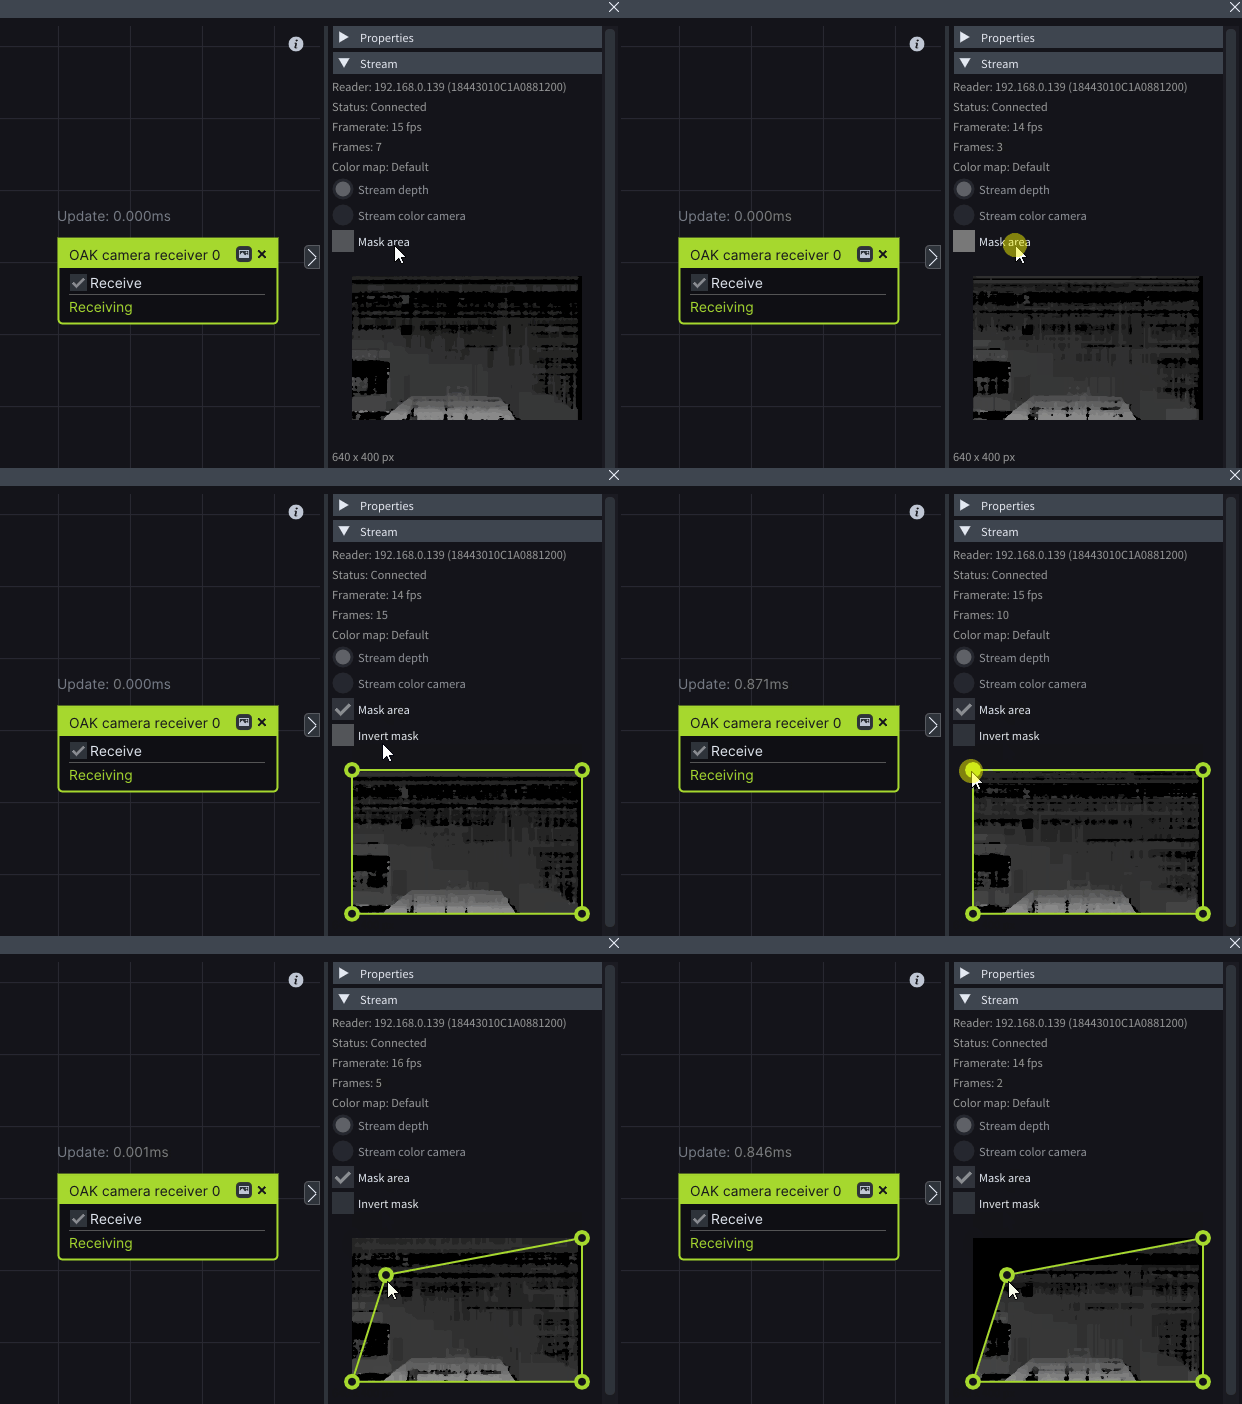
You can mask the incoming OAK camera feed by enabling the Mask area checkbox.
-
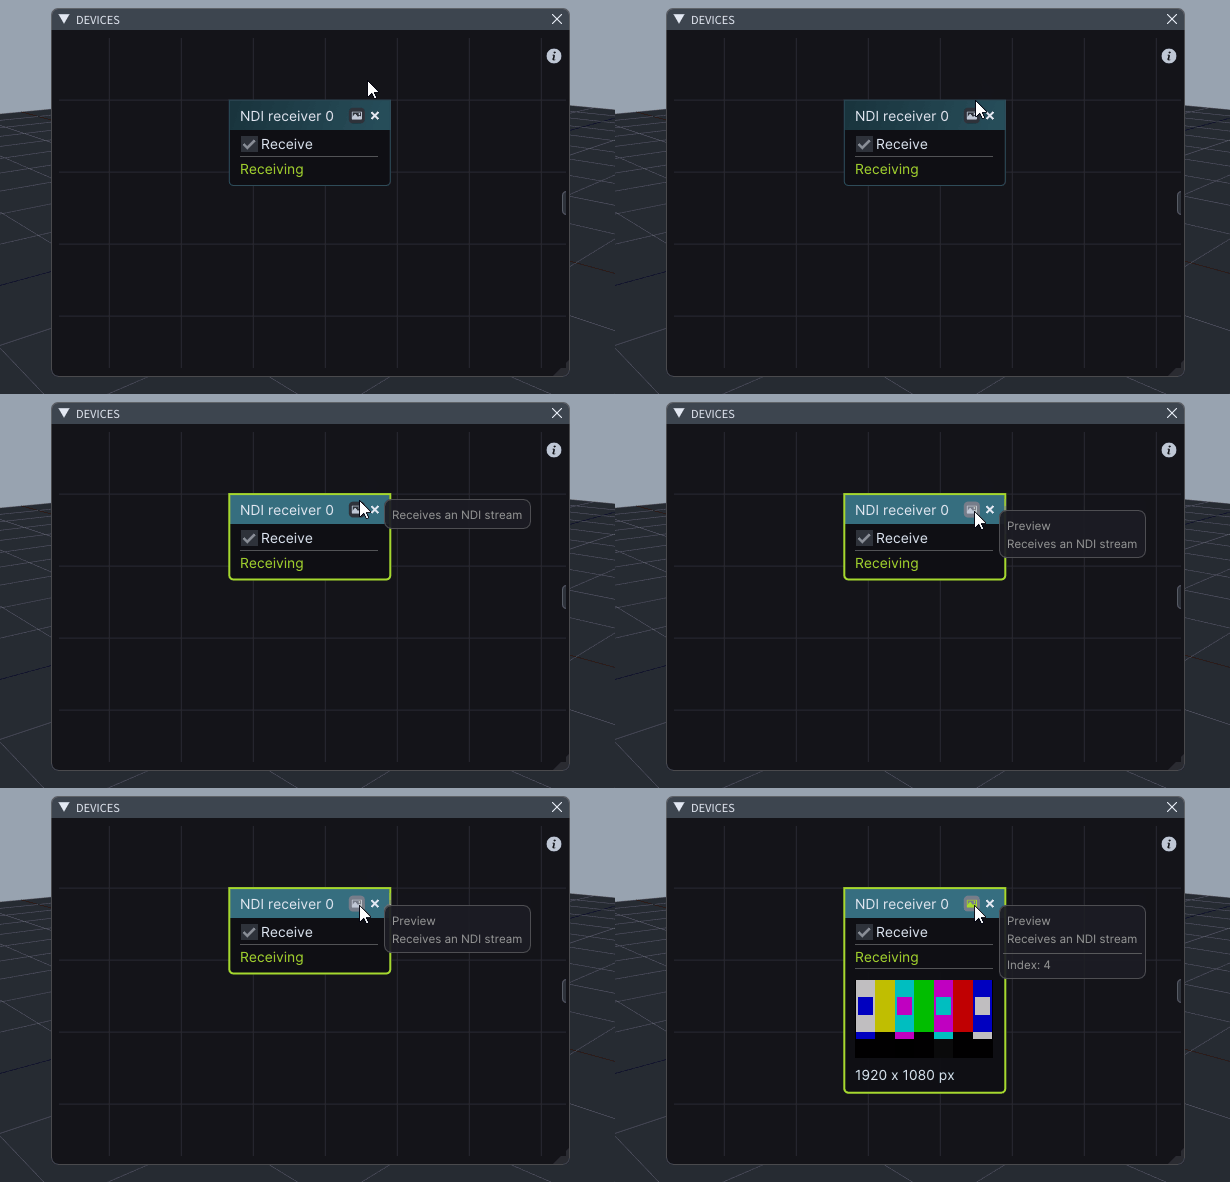
NDI receiver node has a Thumbnail option.
LightNet
-
You can see the name of your PC, IP address, and LightNet role on the Top Bar once LightNet is enabled.

-
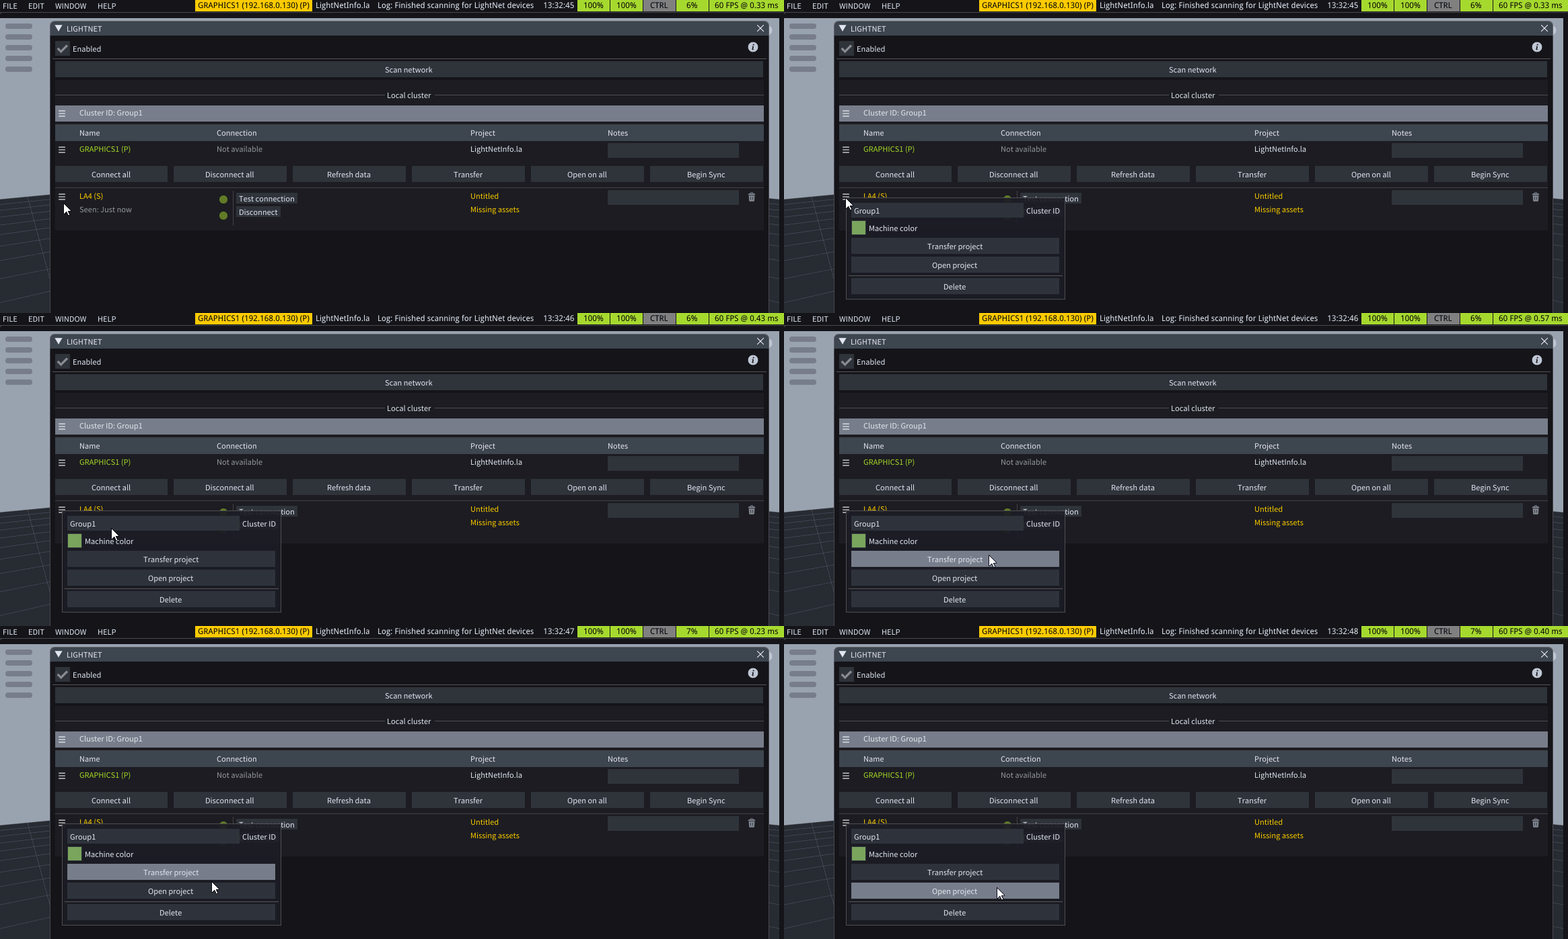
To transfer and open a project on a specific server only, you can click the three-lined icon of the chosen server and select Transfer project or Open project.
-
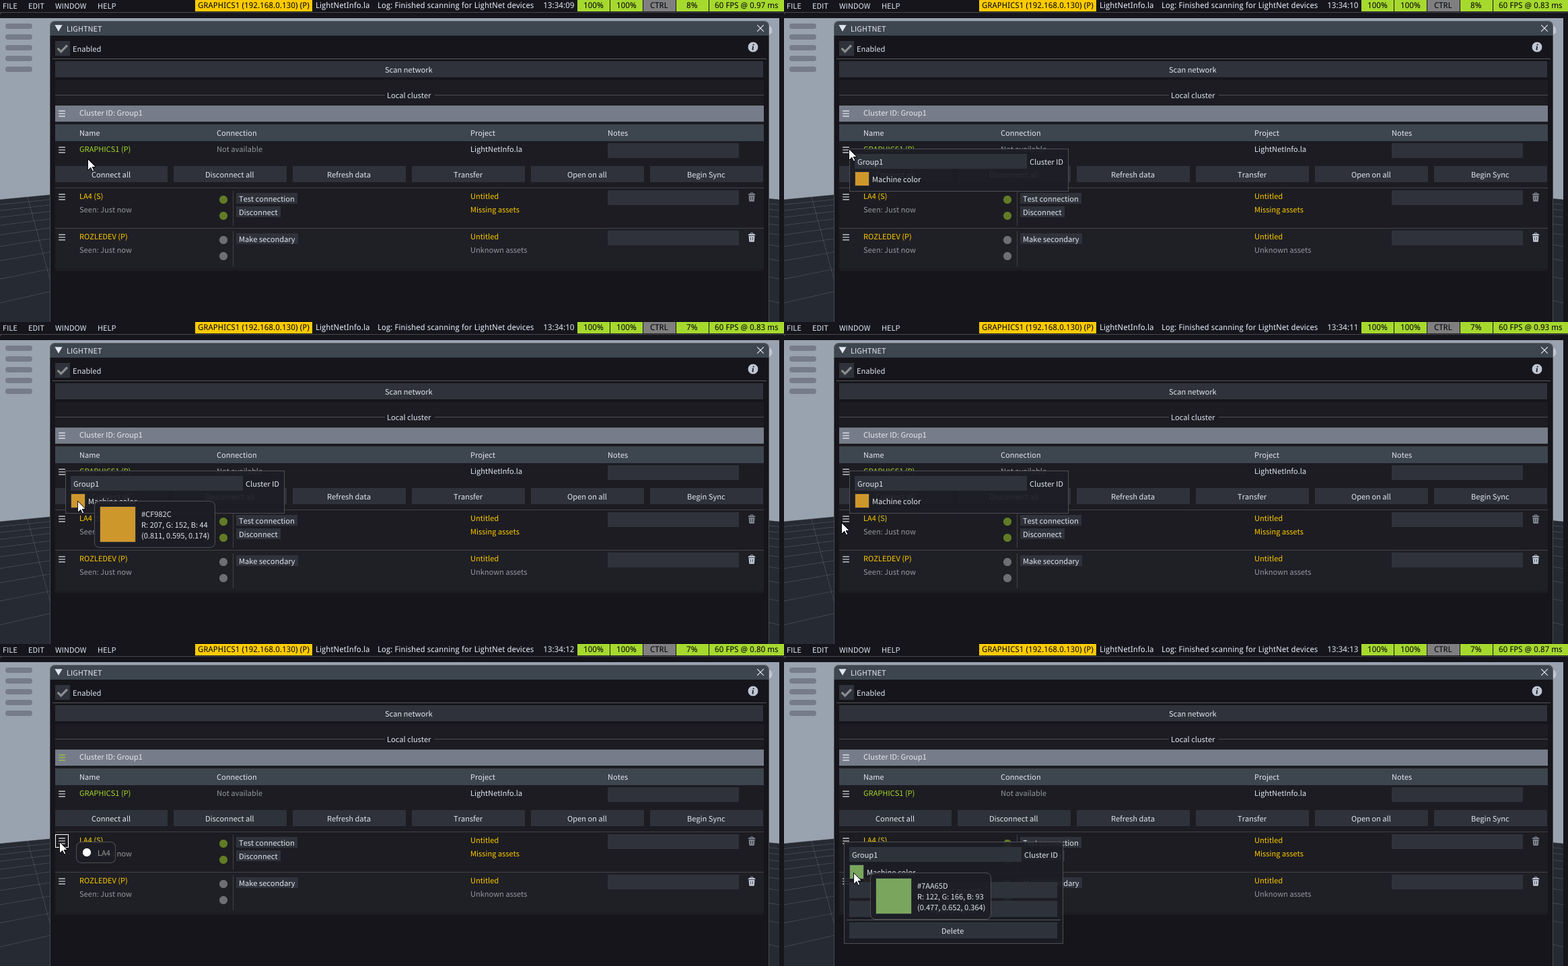
LightNet machines are assigned random colors for each new project.
Other
-
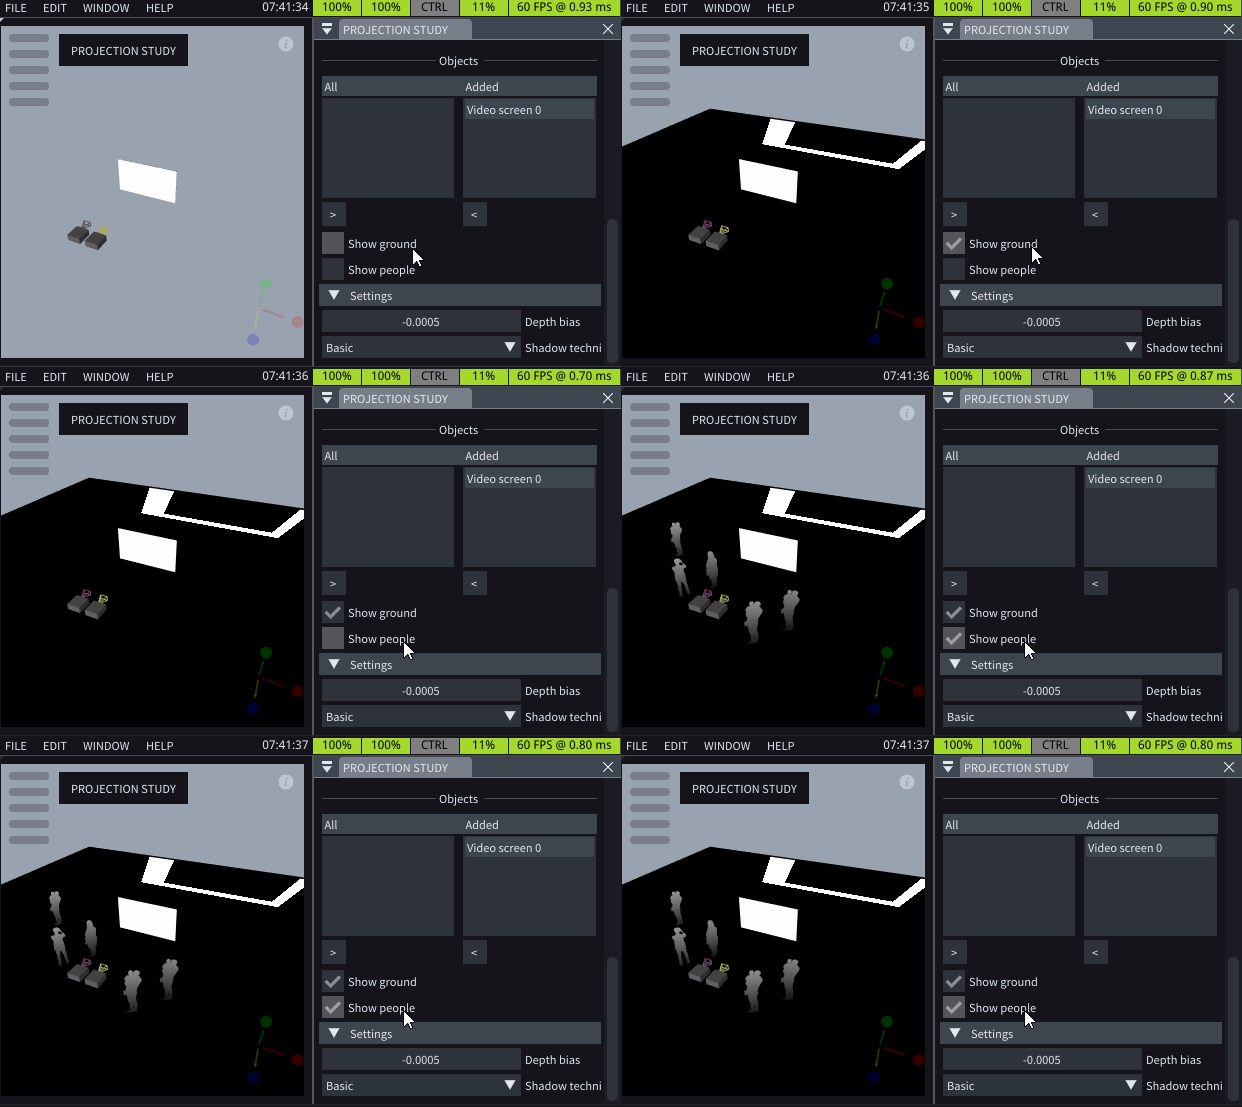
In Projection Study mode, you have the option to display People props or the Floor plane.
-
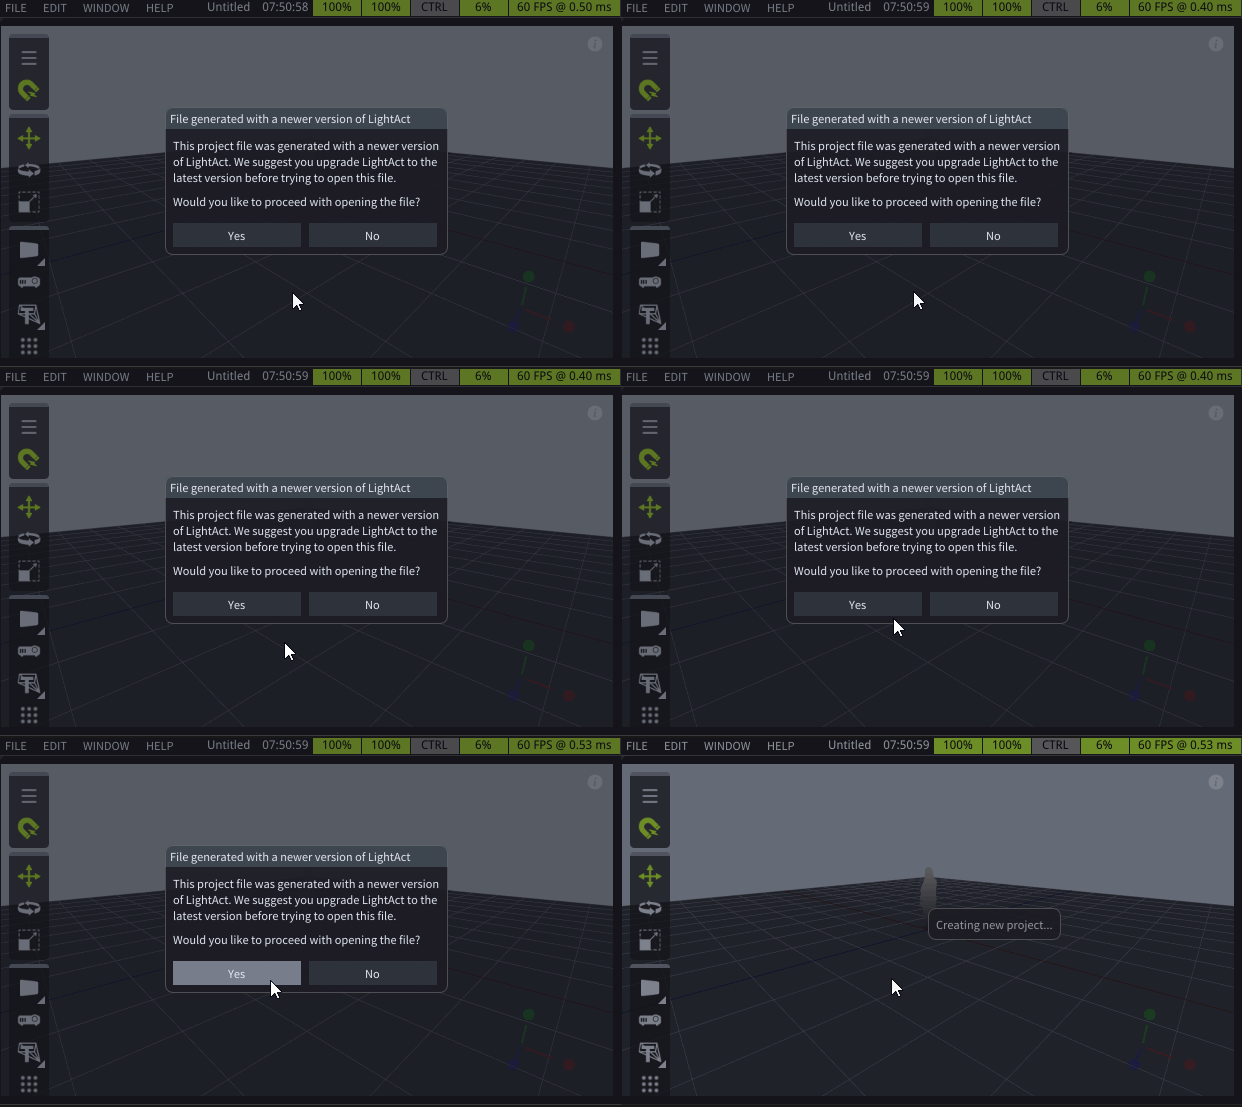
If you are trying to open a project file, created in a newer version of LightAct, you will get a warning.
-
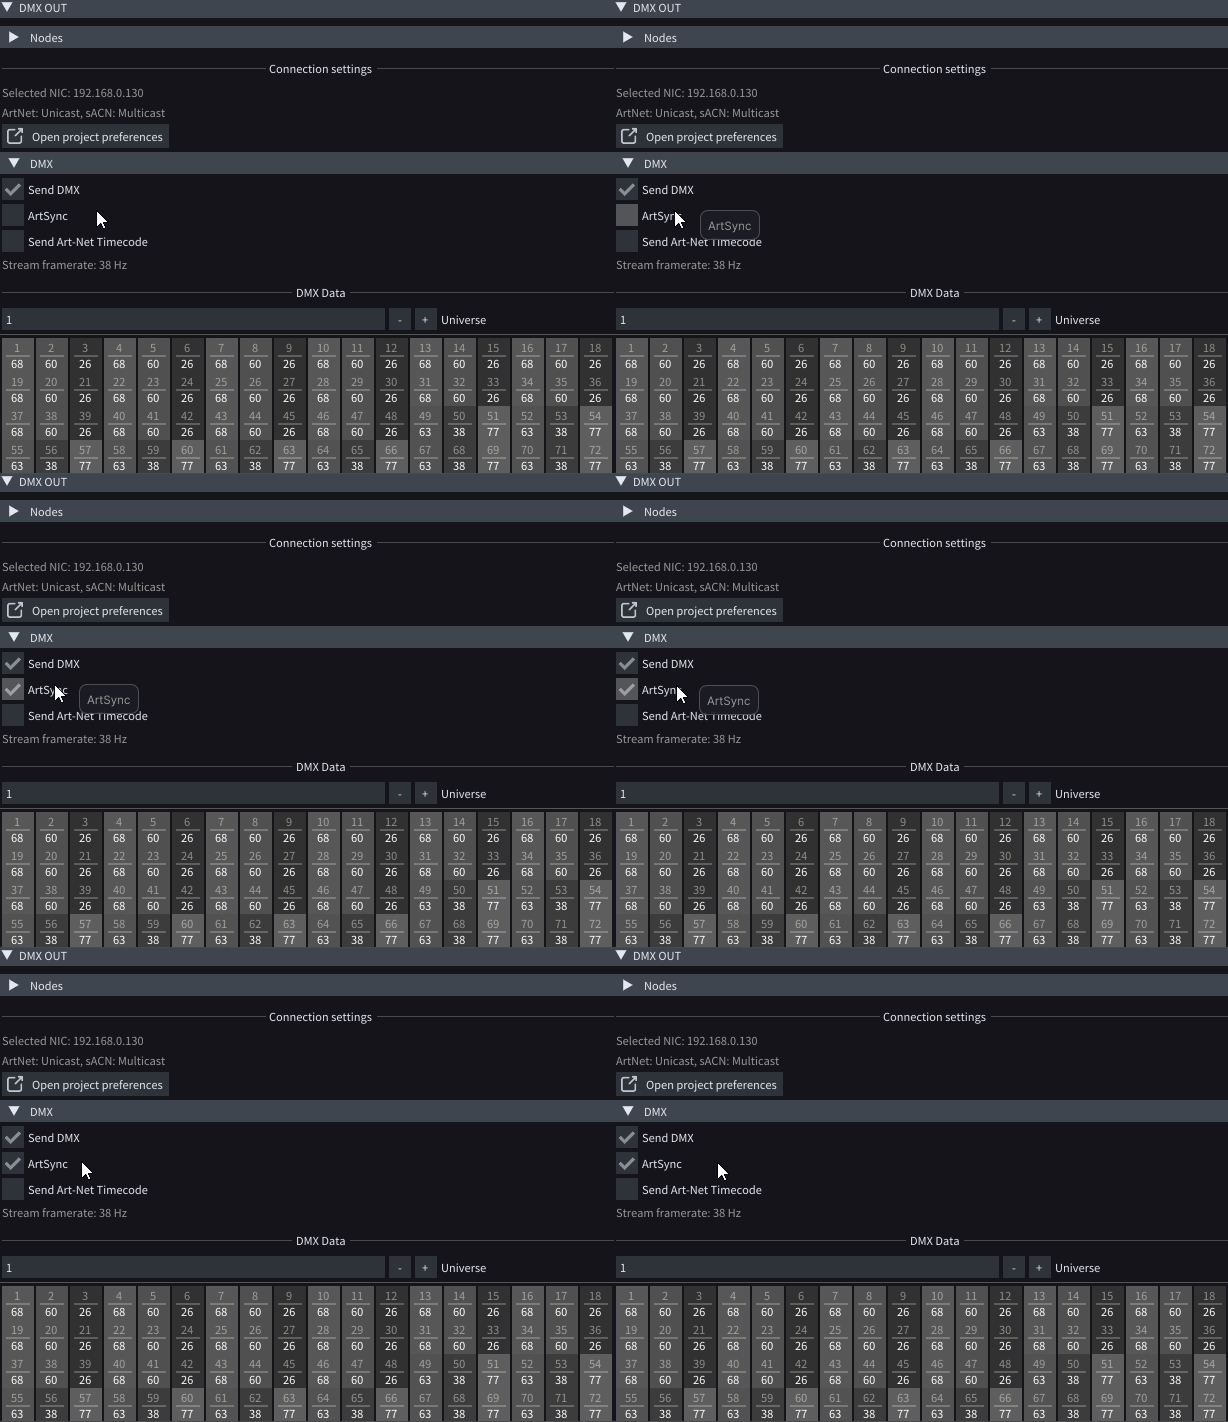
You can output DMX data with ArtSync by enabling the ArtSync checkbox in the DMX Out window.
-
When a pixel spans across two DMX universes, it is relocated to ensure full range within a single universe.
-
We now support .zip for packaging projects instead of .7-zip.
-
The Projector Layout has been updated, so there are no overlapping nodes.