LightAct 4.8 introduces major improvements with significant blending upgrades, more flexible mapping, support for Asset versioning, an Index manager for better project organization, support for PJLink protocol, and easier control via OSC and MIDI.
General
-
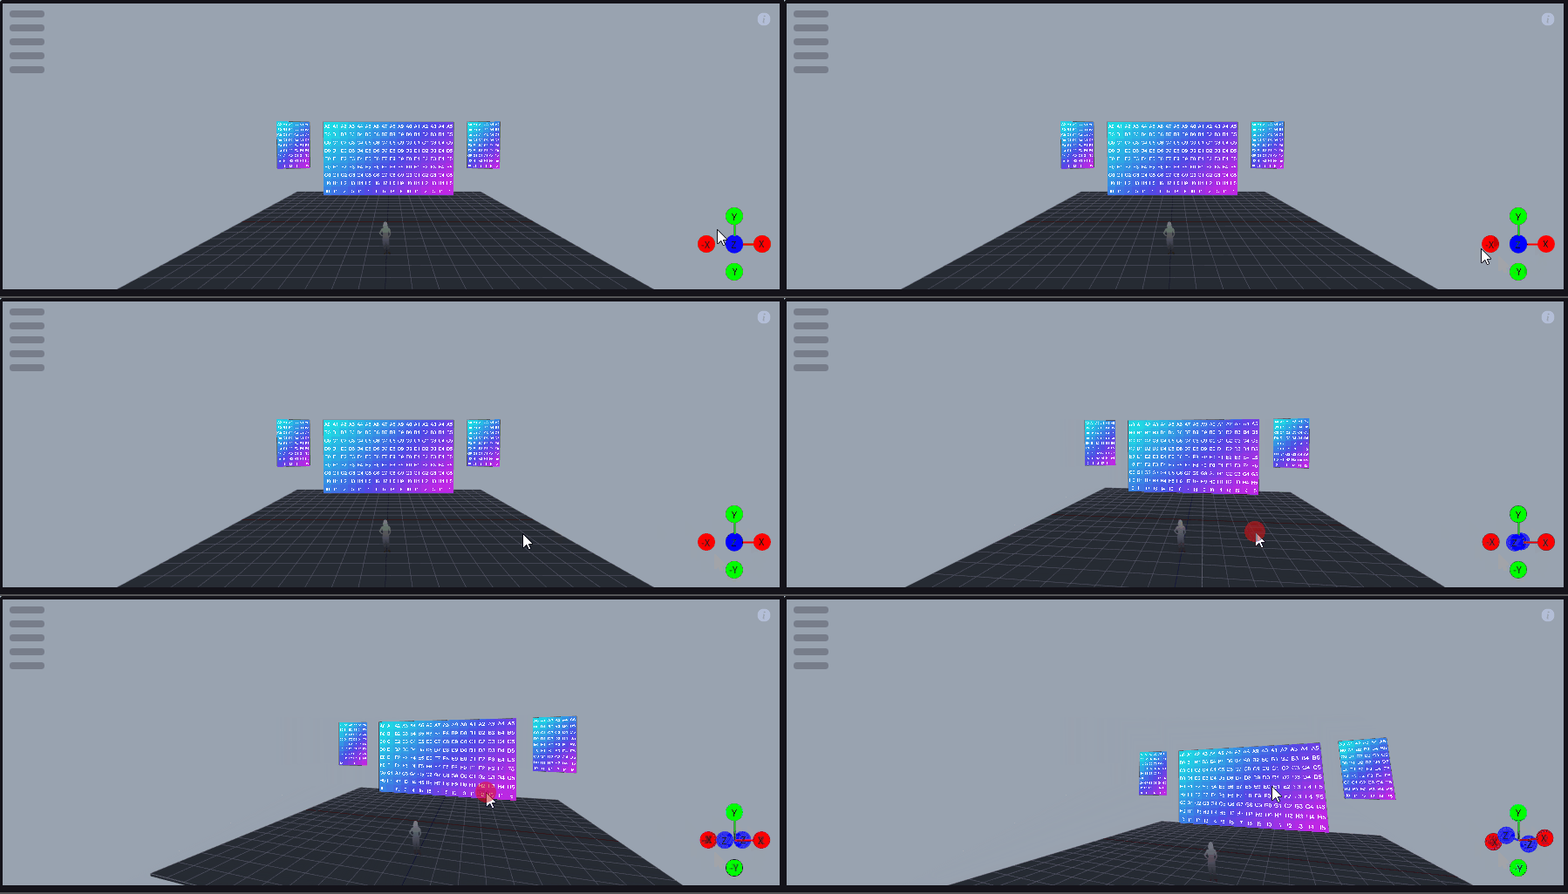
The navigation Gizmo in the Viewport window has been upgraded.
-
If you check the Start with blank project option in the Preferences window, LightAct will open with a blank project every time. If this checkbox is disabled, LightAct will open with its default project.
-
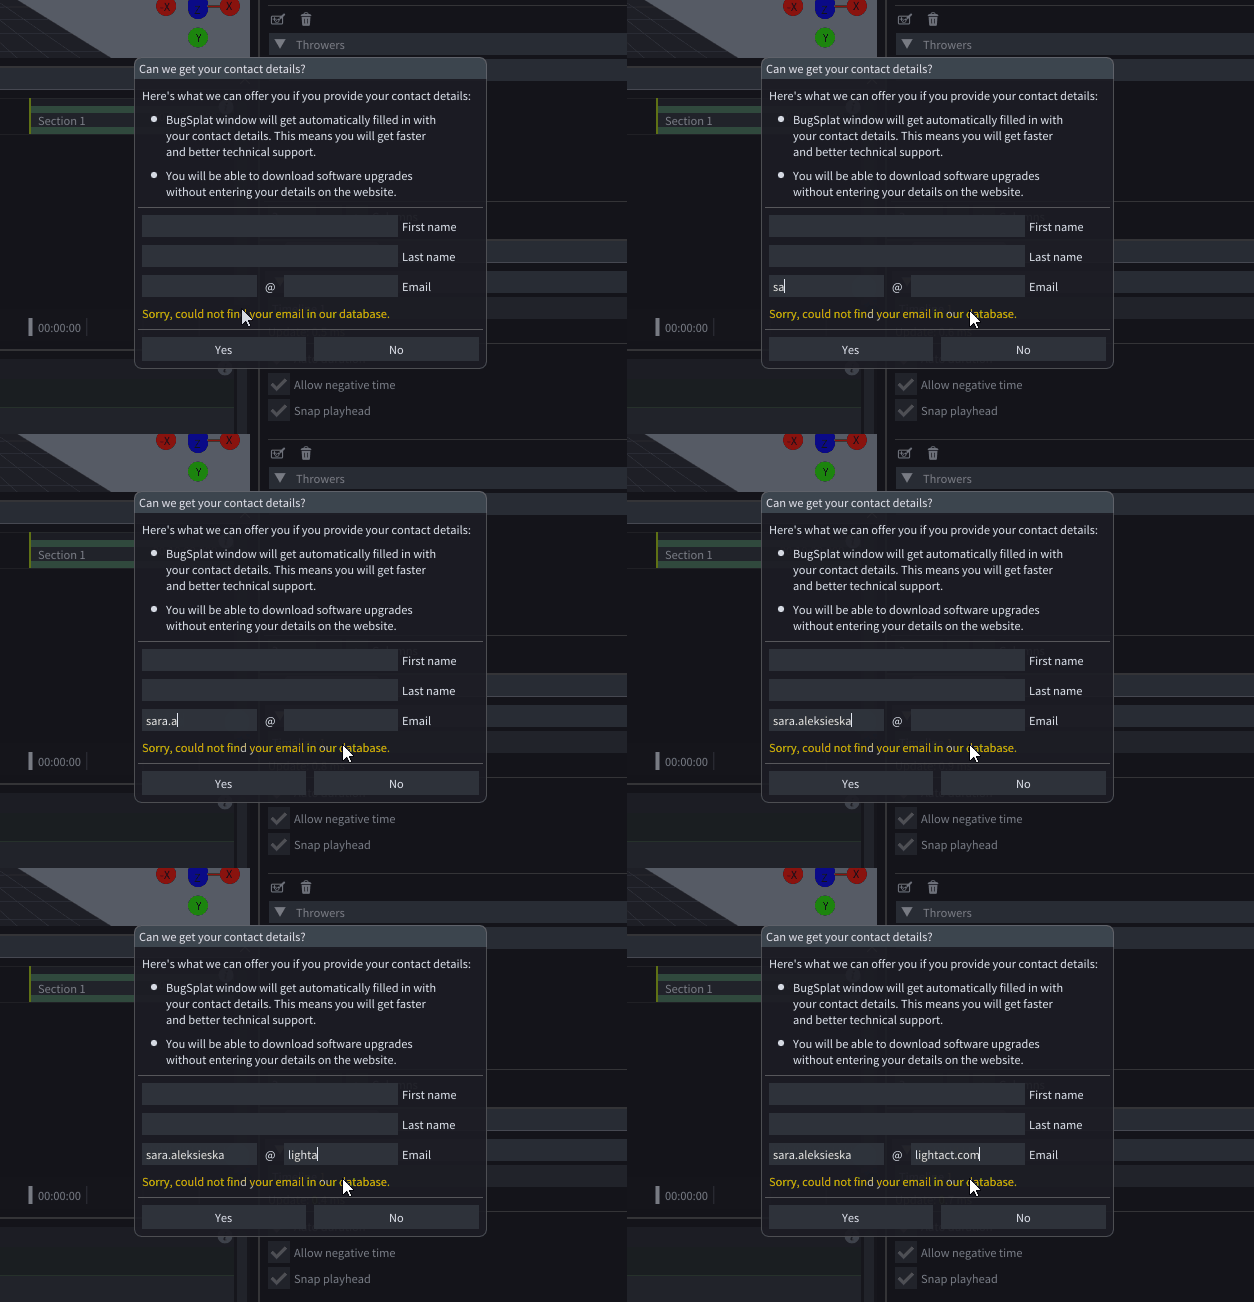
In the Contact details pop-up, you can enter the email you used when downloading LightAct. This way, you’ll receive direct download links for new releases and BugSplat will auto-fill your info if a crash occurs.
-
You can also fill out your contact details later, in the Preferences window, under the General tab, below the Your details section.

-
An Open project warning pop-up window appears when attempting to open a project saved in an older version of LightAct.
Asset Versioning & Assets
-
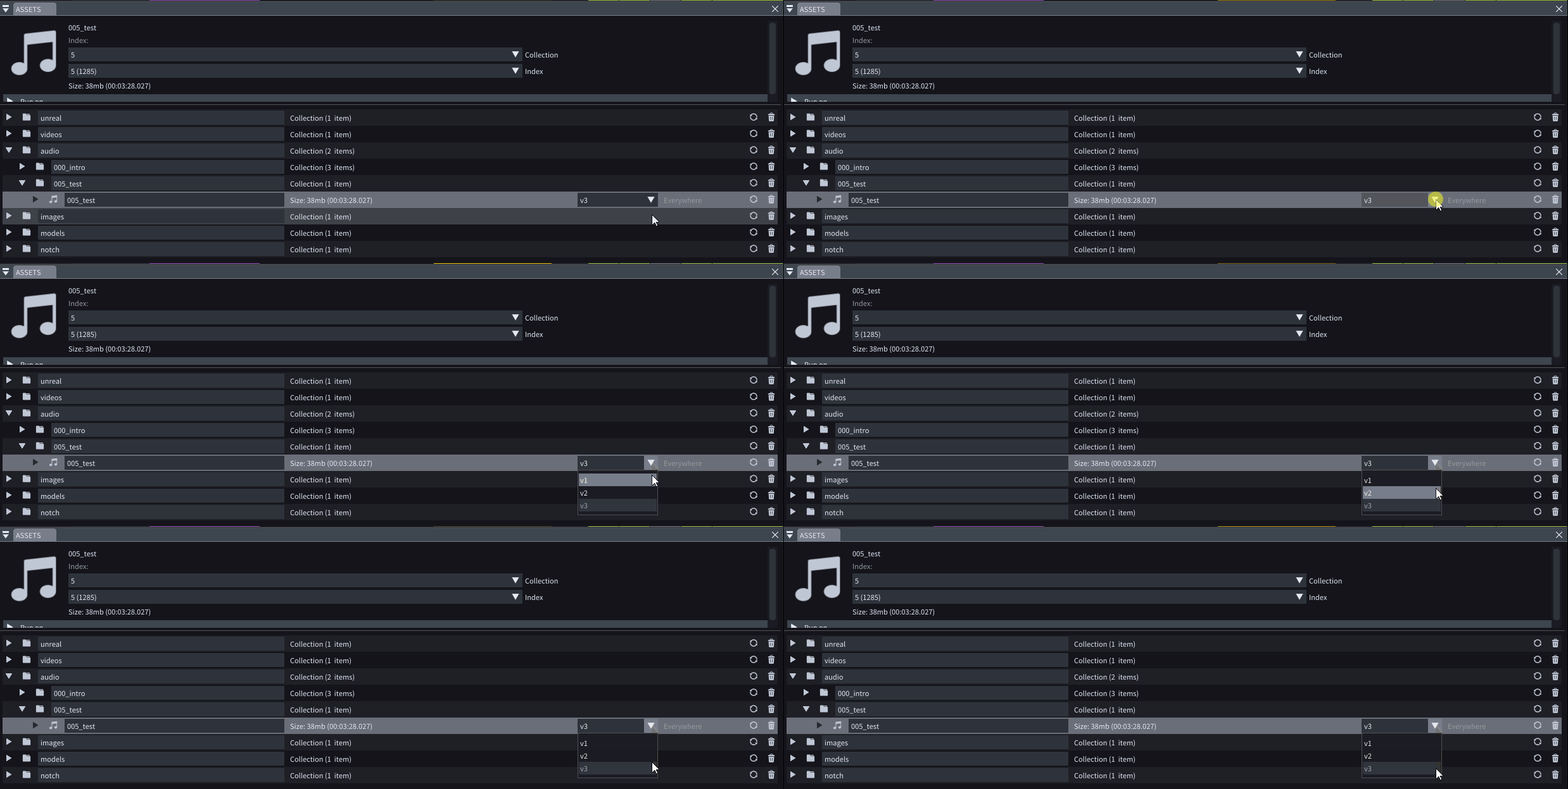
LightAct supports Asset versioning. Assets may contain:
a. No version tag (ex. myMovie.mov),
b. A numeric version tag (ex. myMovie_v1.mov),
c. A date version tag (ex. myMovie_240807.mov or myMovie_240807a.mov).
-
The Show usage option in the right-click menu of a selected Asset displays all the Timelines, Layers, and Variables in which the specific Asset is referenced.
-
The Replace asset option in the right-click menu of a selected Asset allows you to replace the selected Asset with another Asset of the same type.
-
The structure of the folders in which Assets are transferred within LightNet has changed.
-
The structure of the folders in which Assets are packaged using the Package project action has changed.
Index Manager
The new Index Manager window in LightAct allows for easier organization of Assets, Mappings, and Devices used in the project.
-
All LightAct elements that can be indexed now have a Collection dropdown menu, aside from the Index dropdown menu.
-
The Index slot in which the LightAct element appears in the Indexing Manager represents the Collection and Index that are chosen for the specific LightAct element.
-
The Autofill button automatically assigns the Index and Collection parameters for all Assets of the chosen type based on their naming and structure, as displayed in the Asset window.
If 001_collectionName has a 003_assetName, then after clicking on the Autofill button, you will be able to visually see the Asset in the first Collection, under the third Index slot. -
For other LightAct elements, such as Mappings or Devices, the Autofill button will assign sequential indices to all elements of the chosen type, starting from Index 0 and Collection 0.
-
If you drag an Asset to an occupied Index slot, the existing Asset will be replaced with the new one.
-
You can change an Asset’s Index by dragging it from its current Index slot to another one in the Index Manager.
Timelines
-
The position of the separator in the Timelines window is now preserved upon closing LightAct.
-
The Timeline you have selected upon save is the Timeline that will be selected upon reopening the same project.
-
Timelines now have three more On open options, which are the Play section then pause, Loop section, and No change.
Timeline Editor
-
The Timeline window has been renamed to the Timeline Editor window.
-
The Timeline Editor right-click menu has a Search bar, which you can use for filtering Layer Templates.
-
You can jump to a specific time in the Timeline by clicking on the Jump to icon and pressing the Jump button.
-
You can add a Section or Marker by pressing the S or M keys and clicking somewhere on the Section track of the Timeline.
Layers & Layer Templates
-
The default duration of a newly created Layer, as seen under the General tab of the Preferences window, is now 30 seconds.
-
Layer templates now have keywords, which you can add upon creating a new Layer template or editing an existing template under Preferences → Files.
-
All Stock Layer Templates have variables whose MIDI In control button is enabled.

-
The collapse state of the Variable groups gets saved when creating new Layer templates.
-
We’ve updated existing Stock Layer templates like Video, Image, and Notch, and added many new ones including Checkerboard, Mapping ID, and Scroll texture.

You can learn more about the different Stock Layer templates in our User Documentation.
Blending & Mapping
-
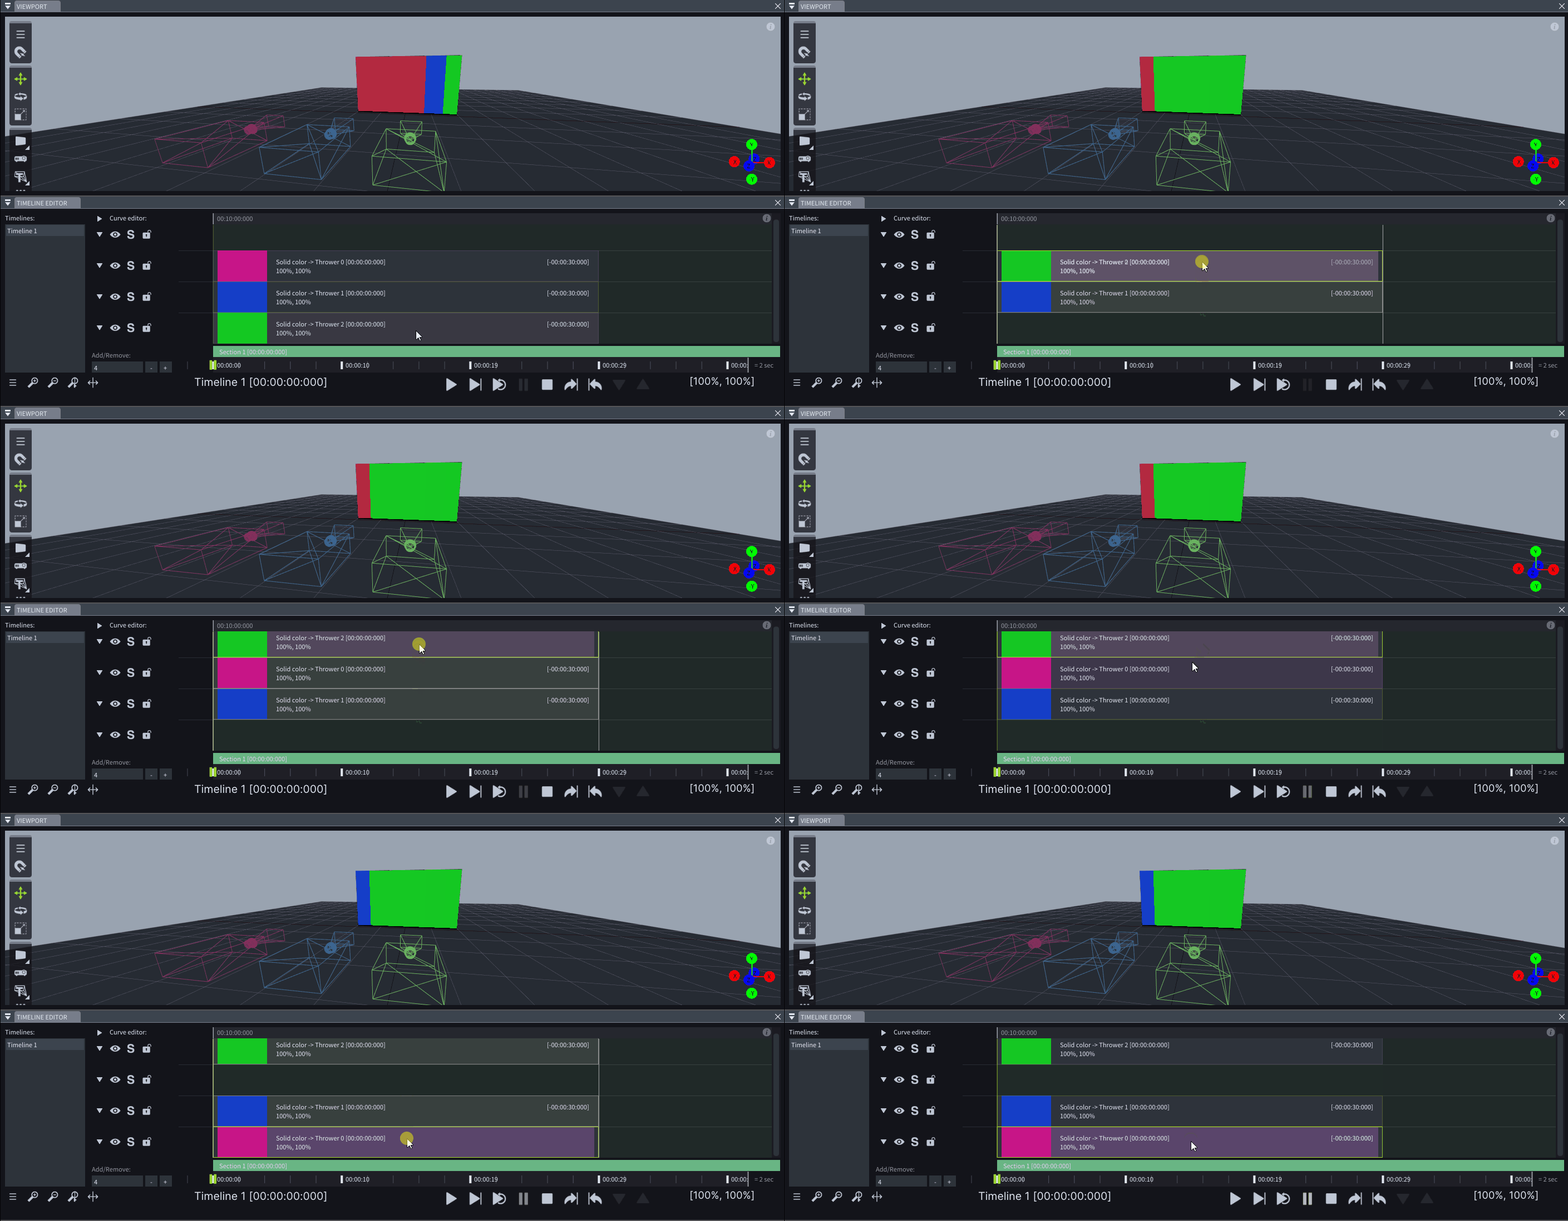
The rendering order of Textures that are rendered to Mappings follows the position of their Layers within the Timeline tracks.
-
The Canvas Preview window has been renamed to the Thumbnails window. In it, aside from Canvas thumbnails, you can see the thumbnails of the Projector and Thrower viewport objects.
-
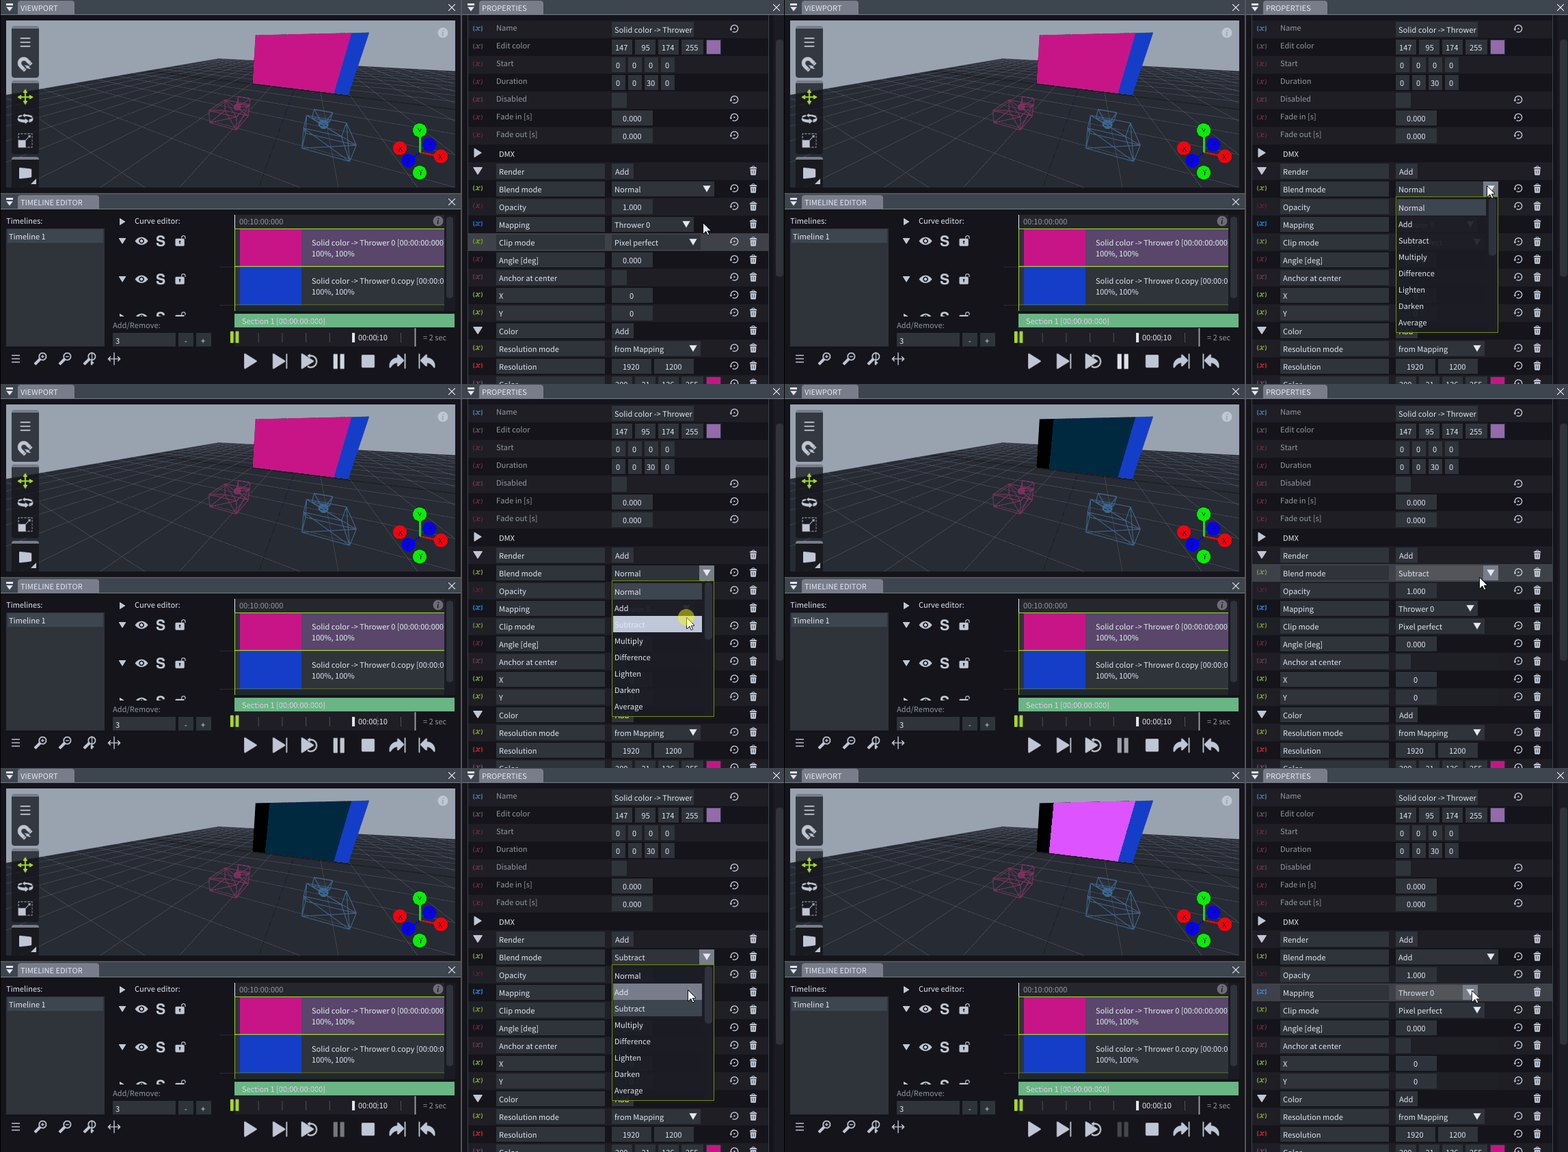
You can combine textures from different Thrower sources on a single Mapping.
-
You can combine textures from both Thrower and Canvas sources on a single Mapping.
Layer Connections
-
An arrow appears between Layers that have an active Layer Connection.
-
A destination Layer can now have Layer connections with multiple source Layers, that are spread out throughout the Timeline.

Nodes
-
In the right-click menu of an Output pin, you can find the Disconnect option.
-
Integer output pins set to As dropdown will now display the selected option’s text instead of a number if the Watch option is enabled.
-
New Get data from Mapping nodes for getting the Resolution or Name of the chosen Mapping.
-
Calibrate Iris camera node has new useful output pins.
-
You can choose the Mode of the Texture gradient node in the Mode input pin.
-
Run Iris calibration pin has a lifeline output that executes once the Iris calibration has successfully finished.
-
New Set data node for changing the Layer State.
-
New Set data node for modifying the Video output State.
-
New Mapping by index node with which you can get the desired mapping based on its index.
-
Texture Label node has been upgraded to display both a Title and a Subtitle.
-
Fade input pins in nodes are now of type Float.
-
New Set data node for Fade of Video outputs.
-
Render texture to Mapping node offers a new Blend mode called Premultiplied alpha.
-
The node properties of the Go to Marker and Go to Section nodes are now presented as input pins.
-
Some of the nodes that have been deprecated are Render texture to canvas, Render texture to viewport object, Set texture to canvas, Set texture to viewport object, Set audio, and Canvas by index nodes.
Variables
-
You can add a Variable by pressing the Add button.
-
You can display or hide the Variable control buttons by widening or narrowing the Layer properties.
-
To move a Variable group up or down, you can click on its triangle icon and drag it to the desired spot within the Layer properties.
-
Variables have a Default value which you can adjust in their right-click menu.
-
To restore the current value of a Variable to its Default value, you can click on the Restore icon.
-
The default drag rate of Float variables is now 0.1.
-
When a Variable is receiving data on an enabled control button, the button turns bright green.
Curve editor
-
The Variable type color now matches the curve color in the Curve editor for single-value Variables.
-
The right-click menu of the Curve editor has been modified. The Add point here option adds a point to the curves at the clicked spot without changing their shapes, and Add point on playhead adds a point where the Playhead is, without altering the curves’ shapes.
-
The types of Curves you can choose in the Curve Editor for a specific Variable are tailored to the type of that Variable. Depending on the Variable type, you can use Catmull-Rom, Linear, or Stepped curves.
-
Curve points can snap to the beginning or end of the Layer they live in. They can also snap on the Playhead.
Control
Control by OSC
- Using the Control by OSC window, you can control properties such as Master Fade and Master Volume, the Play State of different Timelines, and trigger Cues.
OSC In
The OSC In window has undergone a huge upgrade. Below you can learn the new features it offers:
-
The Regenerate button updates the list of variables displayed in the OSC In window, showing only those Variables for which the OSC In control button is enabled.
-
The Status pin of each Variable shows green when no data is received, bright green when compatible data is received, and yellow when incompatible data is received.
-
If the Remap value checkbox is enabled, the incoming OSC data will be remapped to the Min and max properties defined for the chosen Variable.
MIDI In
A new MIDI In window has been added, allowing you to control Layers based on incoming MIDI data.
-
Variables now have a MIDI In control button. If enabled, the variable can be controlled via incoming MIDI data.
-
Similar to the OSC In window, the Regenerate button in the MIDI In window refreshes the list of Variables, showing only those with the MIDI In control button enabled. The Status pin of each Variable shows green when no data is received, bright green when compatible data is received, and yellow when incompatible data is received. If the Remap value checkbox is enabled, the incoming MIDI data will be remapped to the Min and max properties defined for the chosen Variable.
DMX
- The Autopatch feature automatically assigns Universe and Channel numbers to all Layers across all Timelines, so they are patched sequentially.
Cue list
-
If a Section Cue is triggered from the Cue List window, the Play state of the Playhead will change according to the chosen Play state change for that specific Cue.
-
Channel and Universe columns are visible in the Cue List window regardless of whether Control by DMX is enabled or not.
Devices
-
Integration with SICK Visionary camera, which can be used for LightTrack.
-
Pressing Alt + dragging from a Device node to a Viewport object will cause the Device to be selected in the Viewport object’s Properties.
PJLink
-
LightAct now supports PJLink protocol, allowing you to scan the network for Projectors by clicking on the Scan network button in the PJLink window.
-
For each Projector you discover via PJLink, you can determine a virtual LightAct twin. You can override the properties of the virtual Projector or Thrower by clicking on the override button.
-
You can send commands to a Projector via PJLink by using the Send PJLink Command node.
LightTrack
-
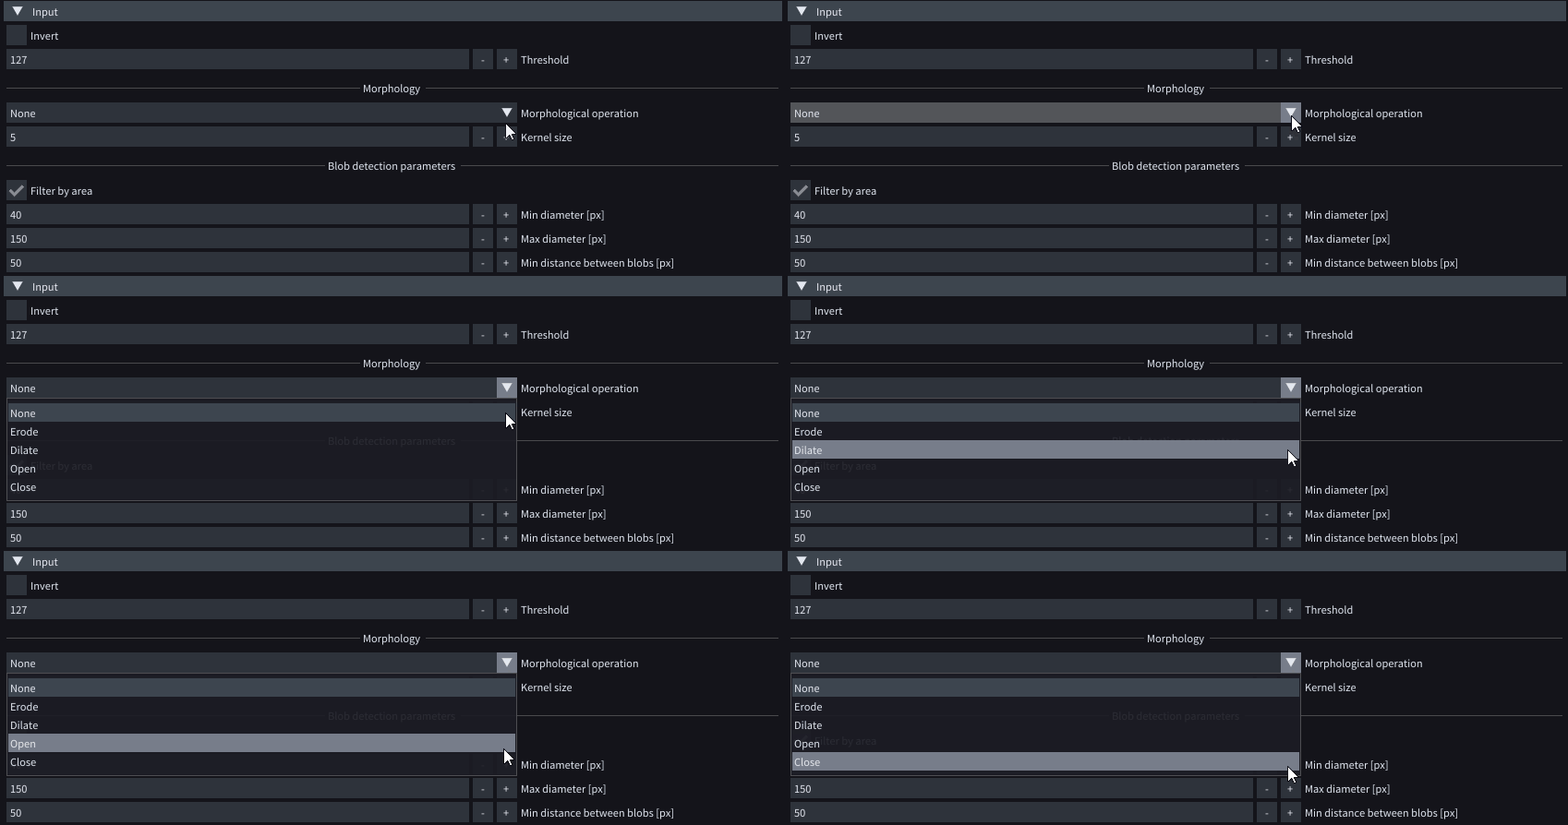
LightTrack systems have a new Morphology section.
-
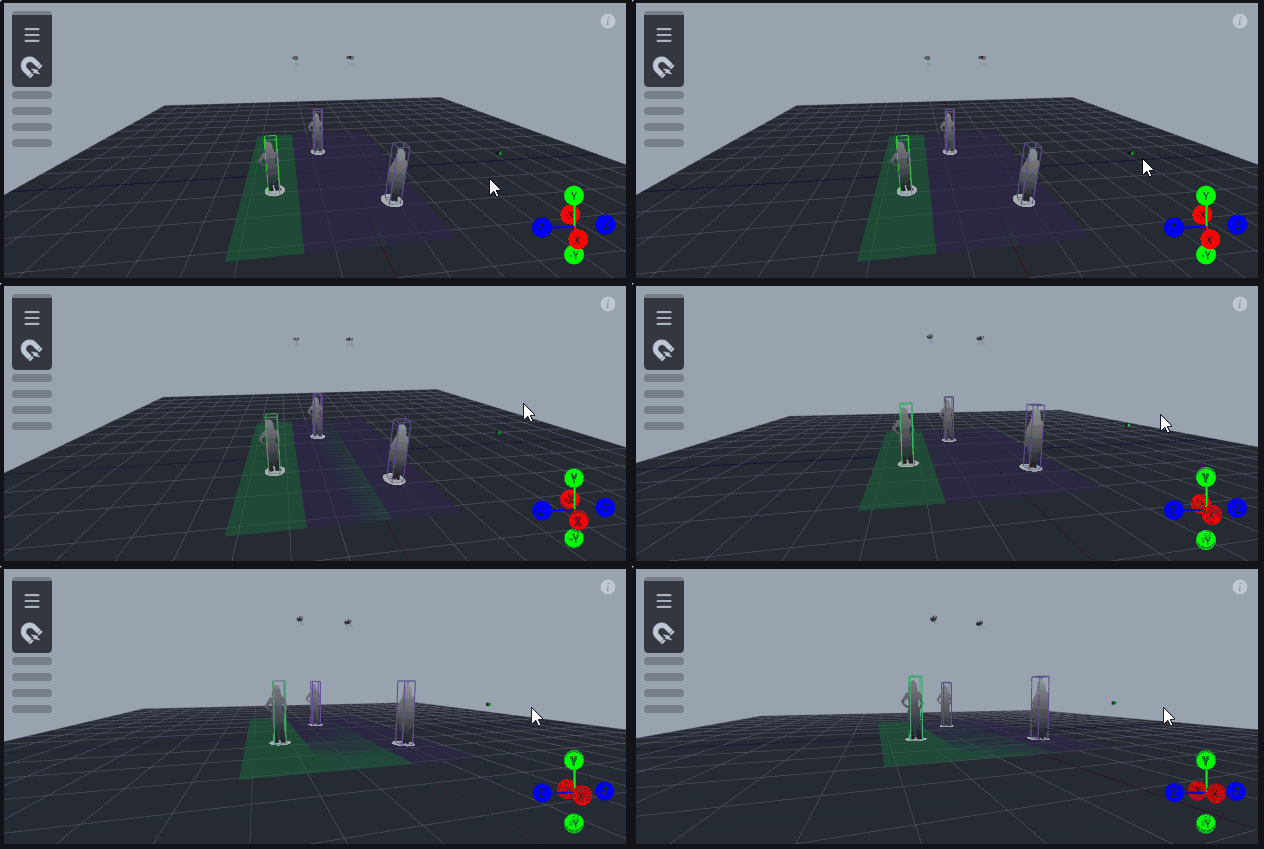
Multiple LightTrack sensors can have an overlapping tracking area.
-
LightTrack bounding boxes are now placed fully above the Viewport plane.
-
The Force scale property of a LightTrack system forces all results to have a scale of 1.
-
All properties of the LightTrack system now have useful tooltips.
-
LightTrack in Simulate mode now ignores People props that are hidden.
Tracking follower
- The Extrapolate checkbox has been renamed to Enable prediction and can be used in combination with the Velocity buffer size property.
Workspaces
-
The state of the Toolbar is now saved in newly created Workspaces.
-
The position of the separator in the Timelines window is also saved in newly created Workspaces.
-
LightAct’s pre-configured Workspaces have been upgraded.
Other
-
You can now perform simple mathematical operations in the Calculate size and resolution button on a selected Video screen.
-
In the right-click menu of a Collection, you can choose to Add new collection.
-
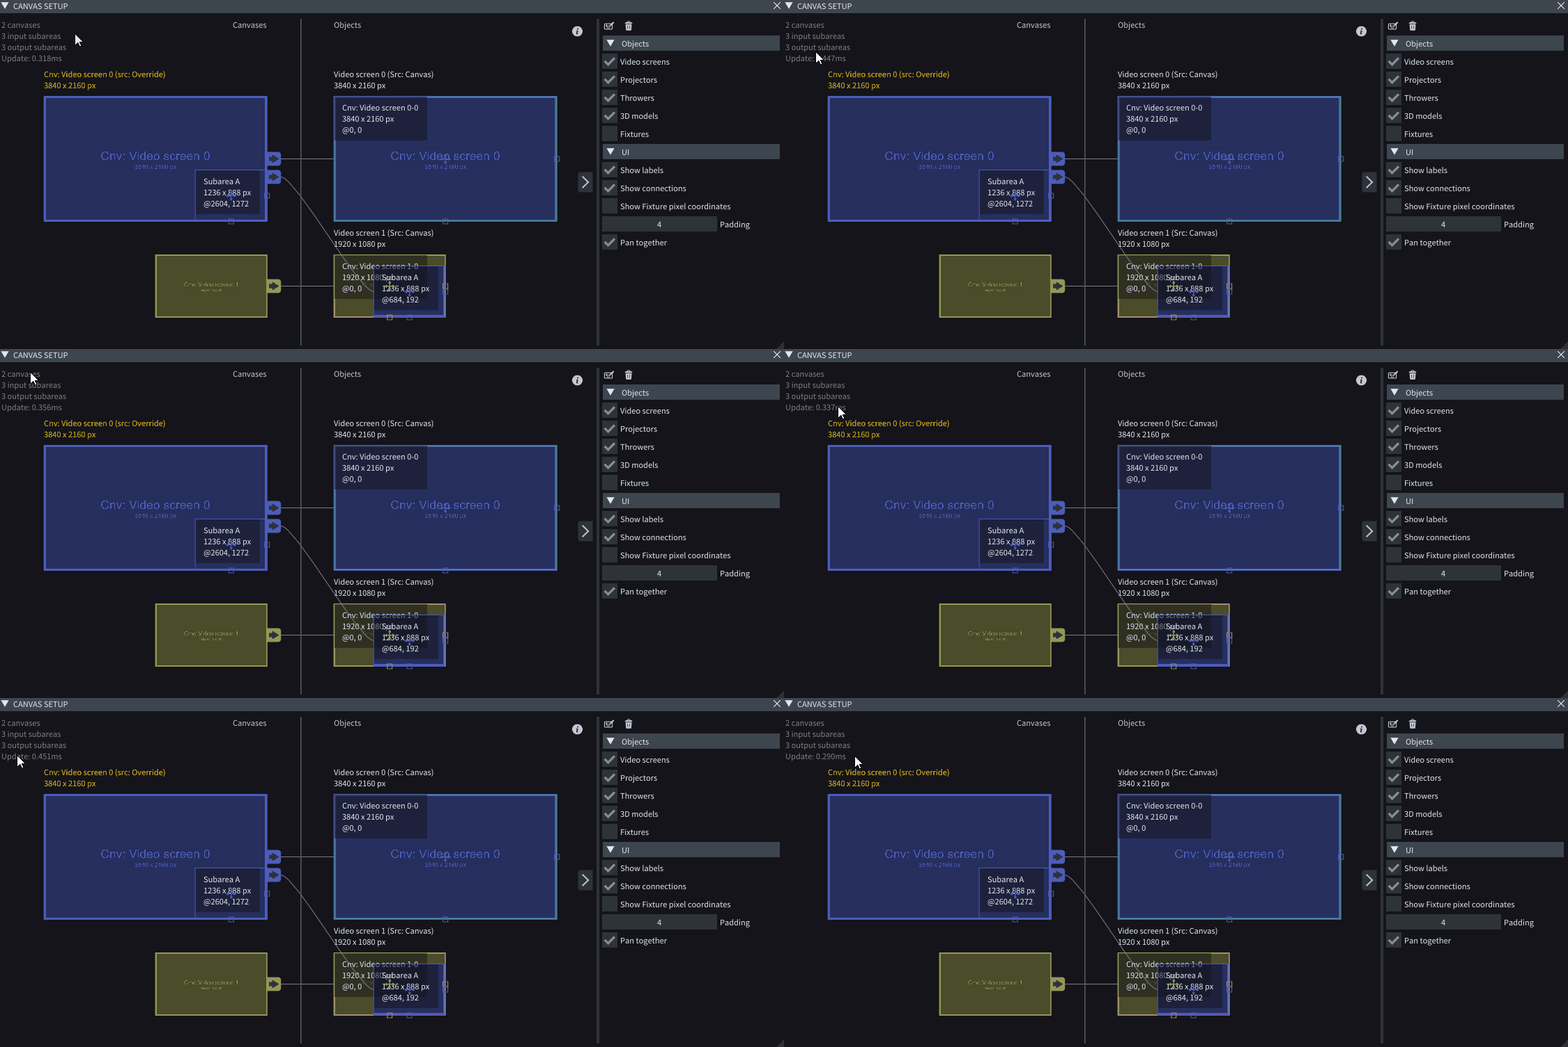
On the top left corner of the Canvas Setup window, you can see this window’s performance data.
-
You cannot delete a LightNet machine you are connected to.
-
Better Node search keywords.
-
Audio output and Audio input devices have undergone some upgrades that have improved their stability when inserting and removing physical Audio devices from the machine.
-
Multiple Iris cameras can receive a stream at the same time.
-
Many minor Timeline syncing improvements.
-
More and better logs.